

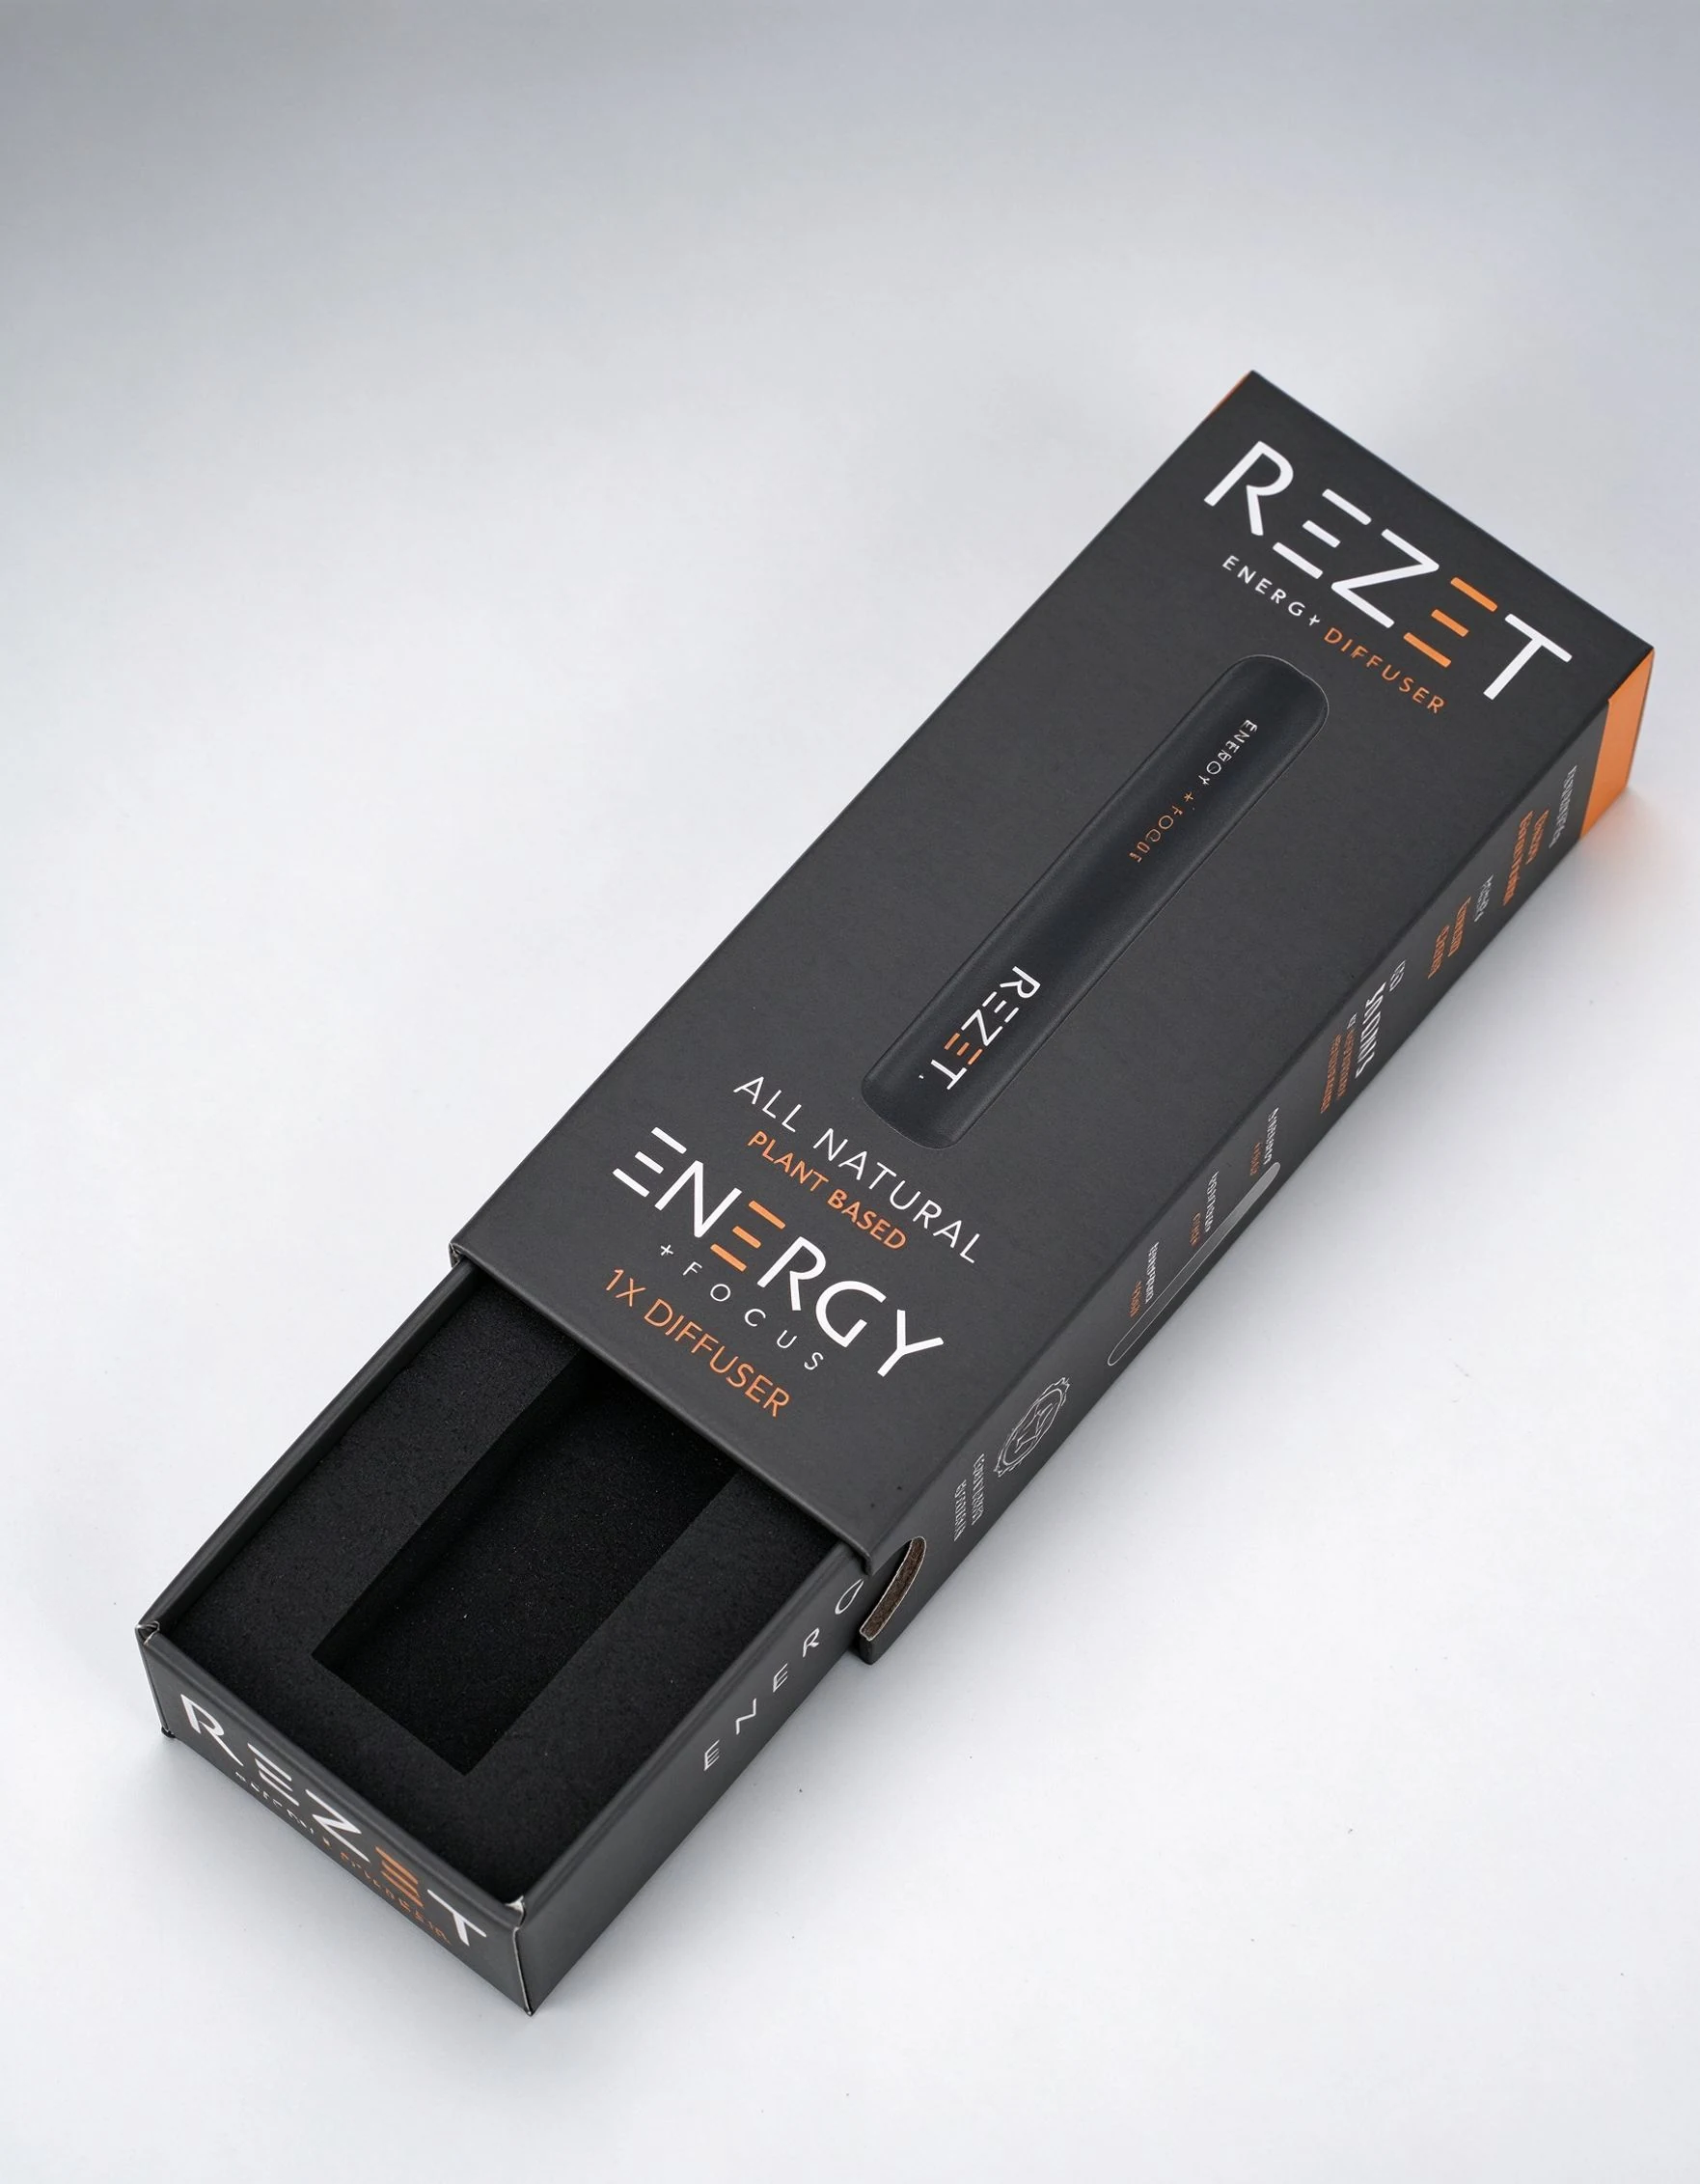
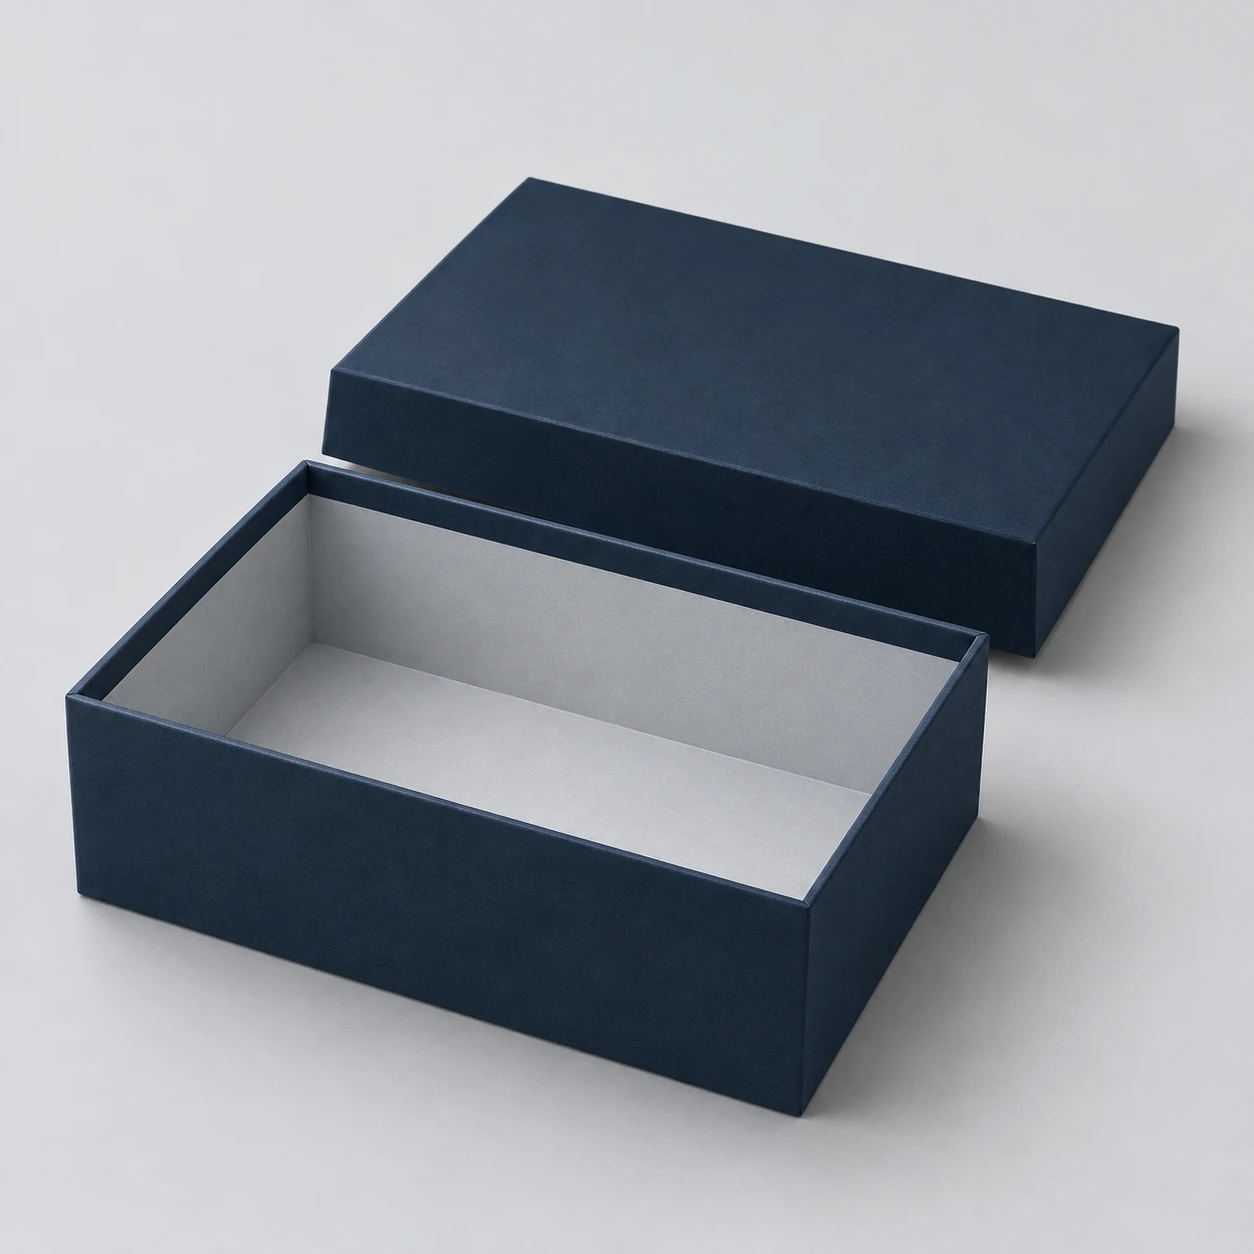
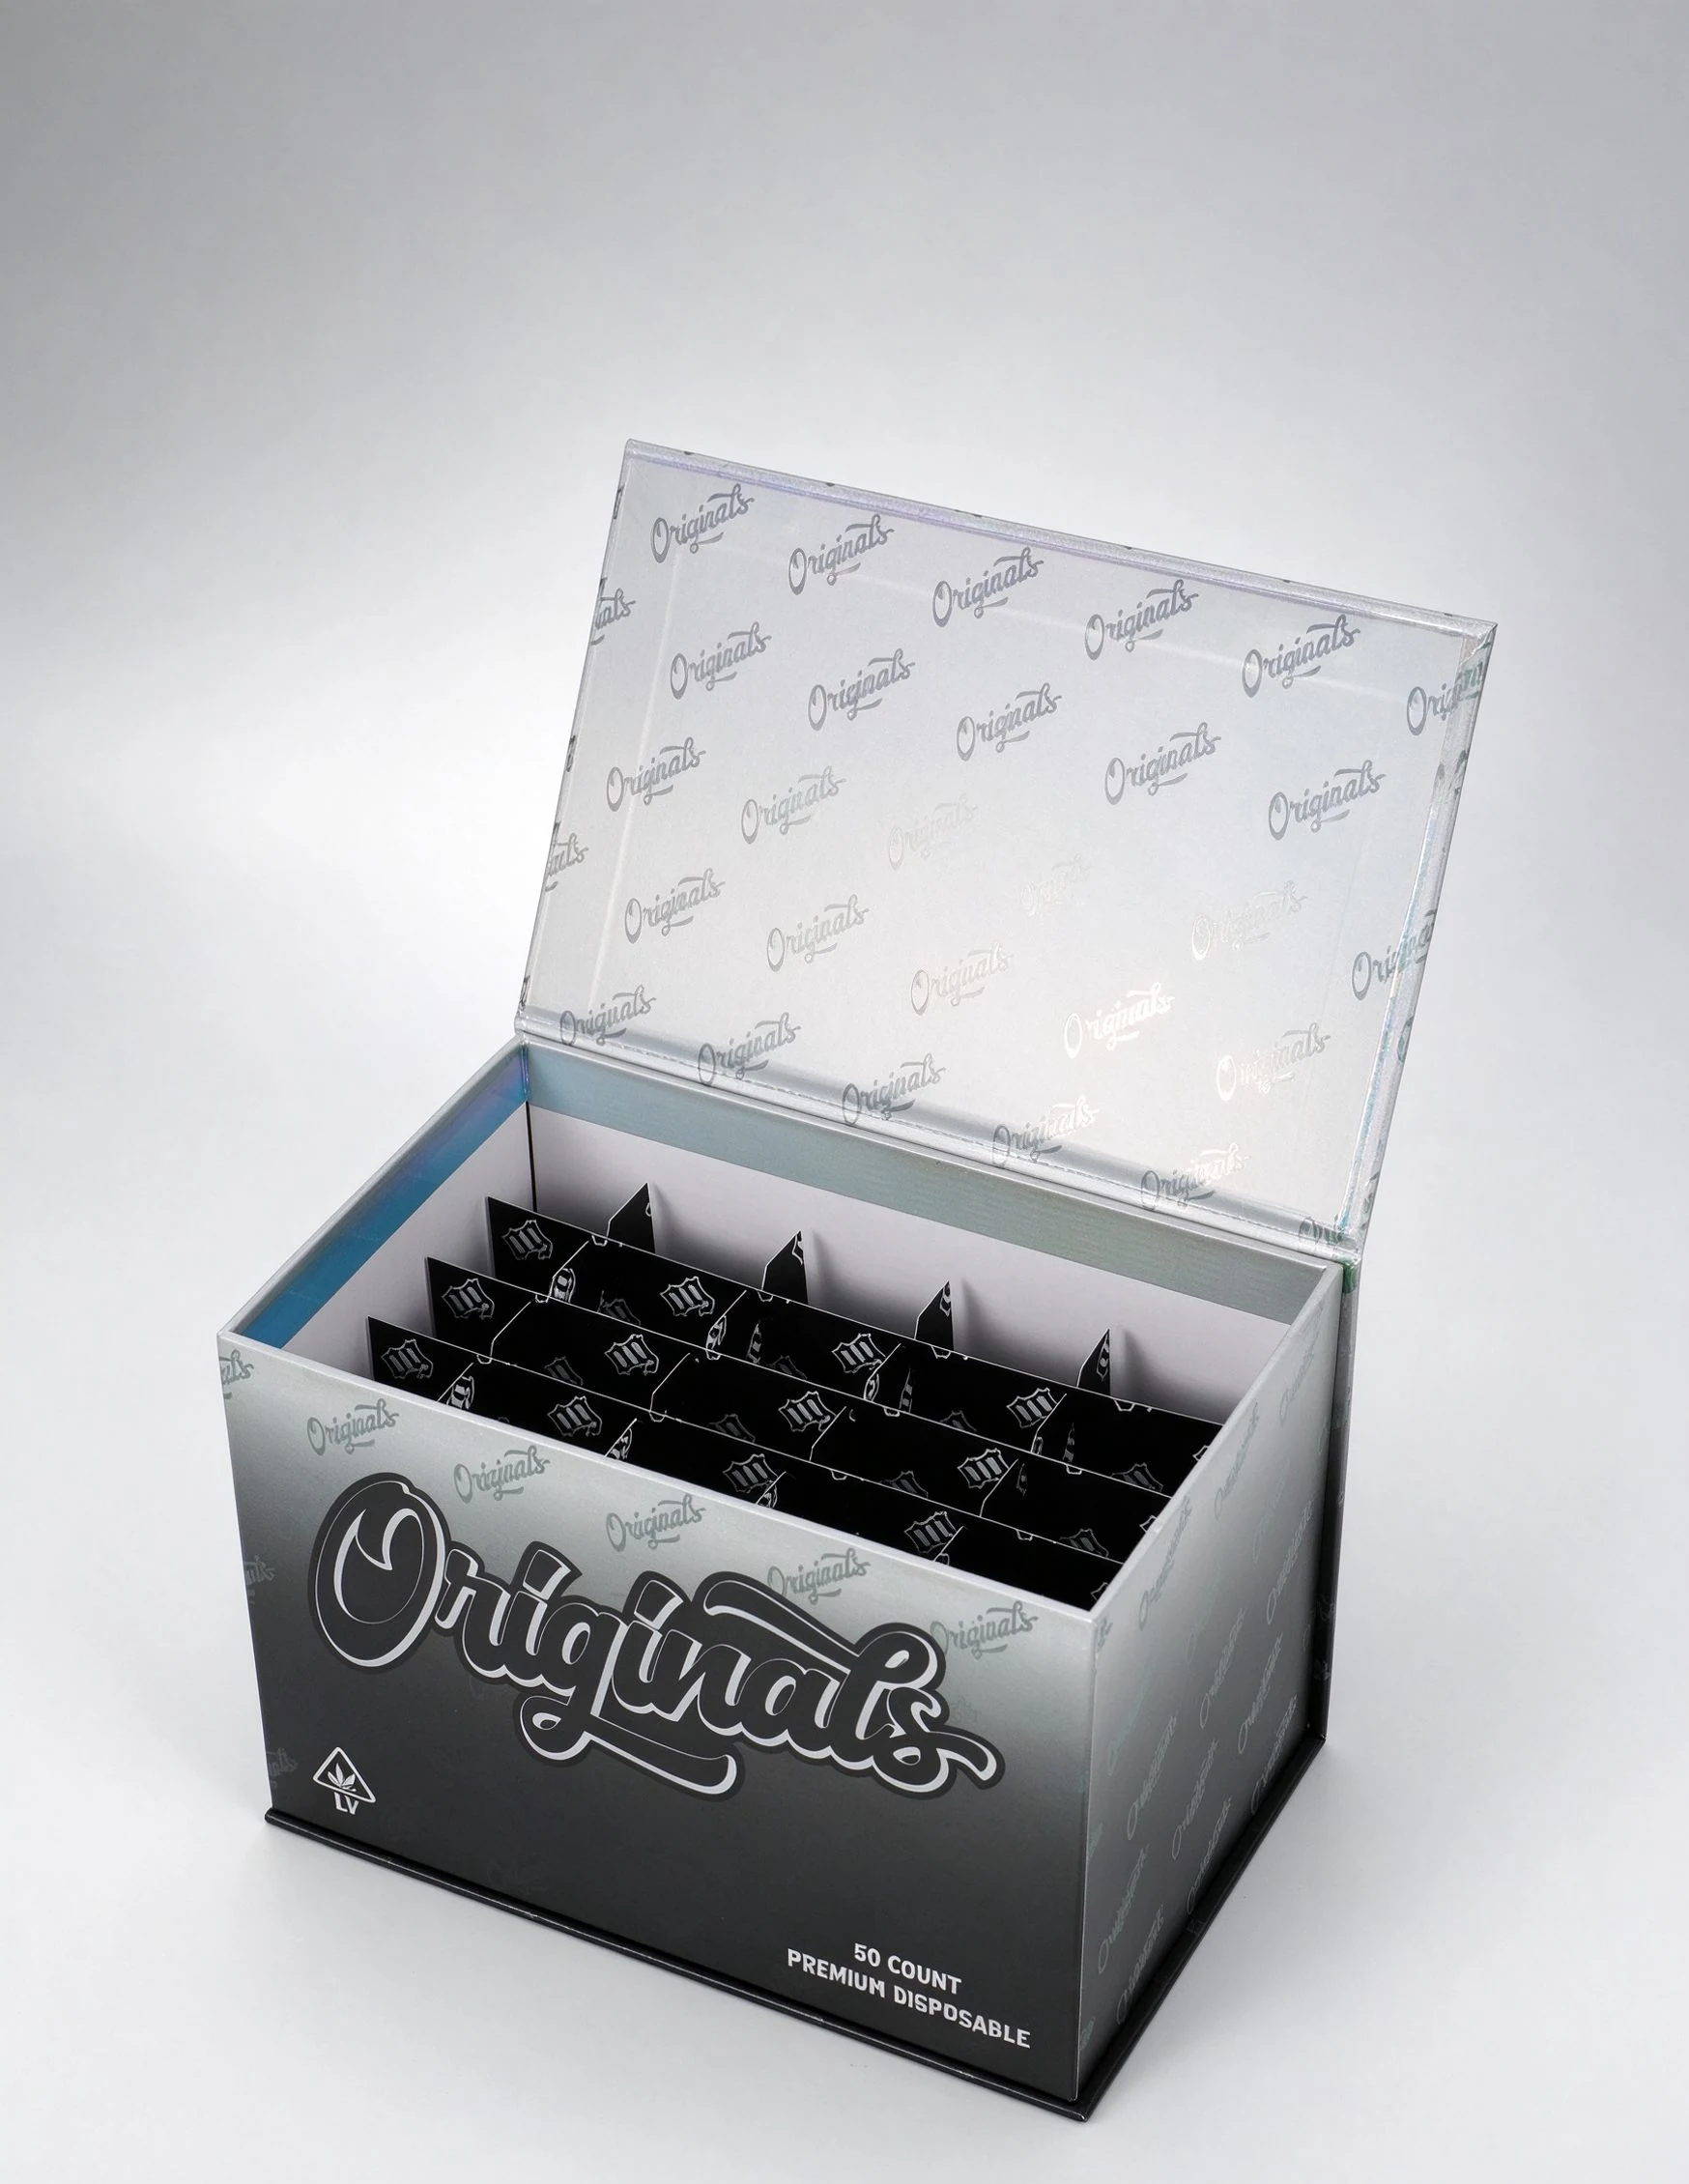
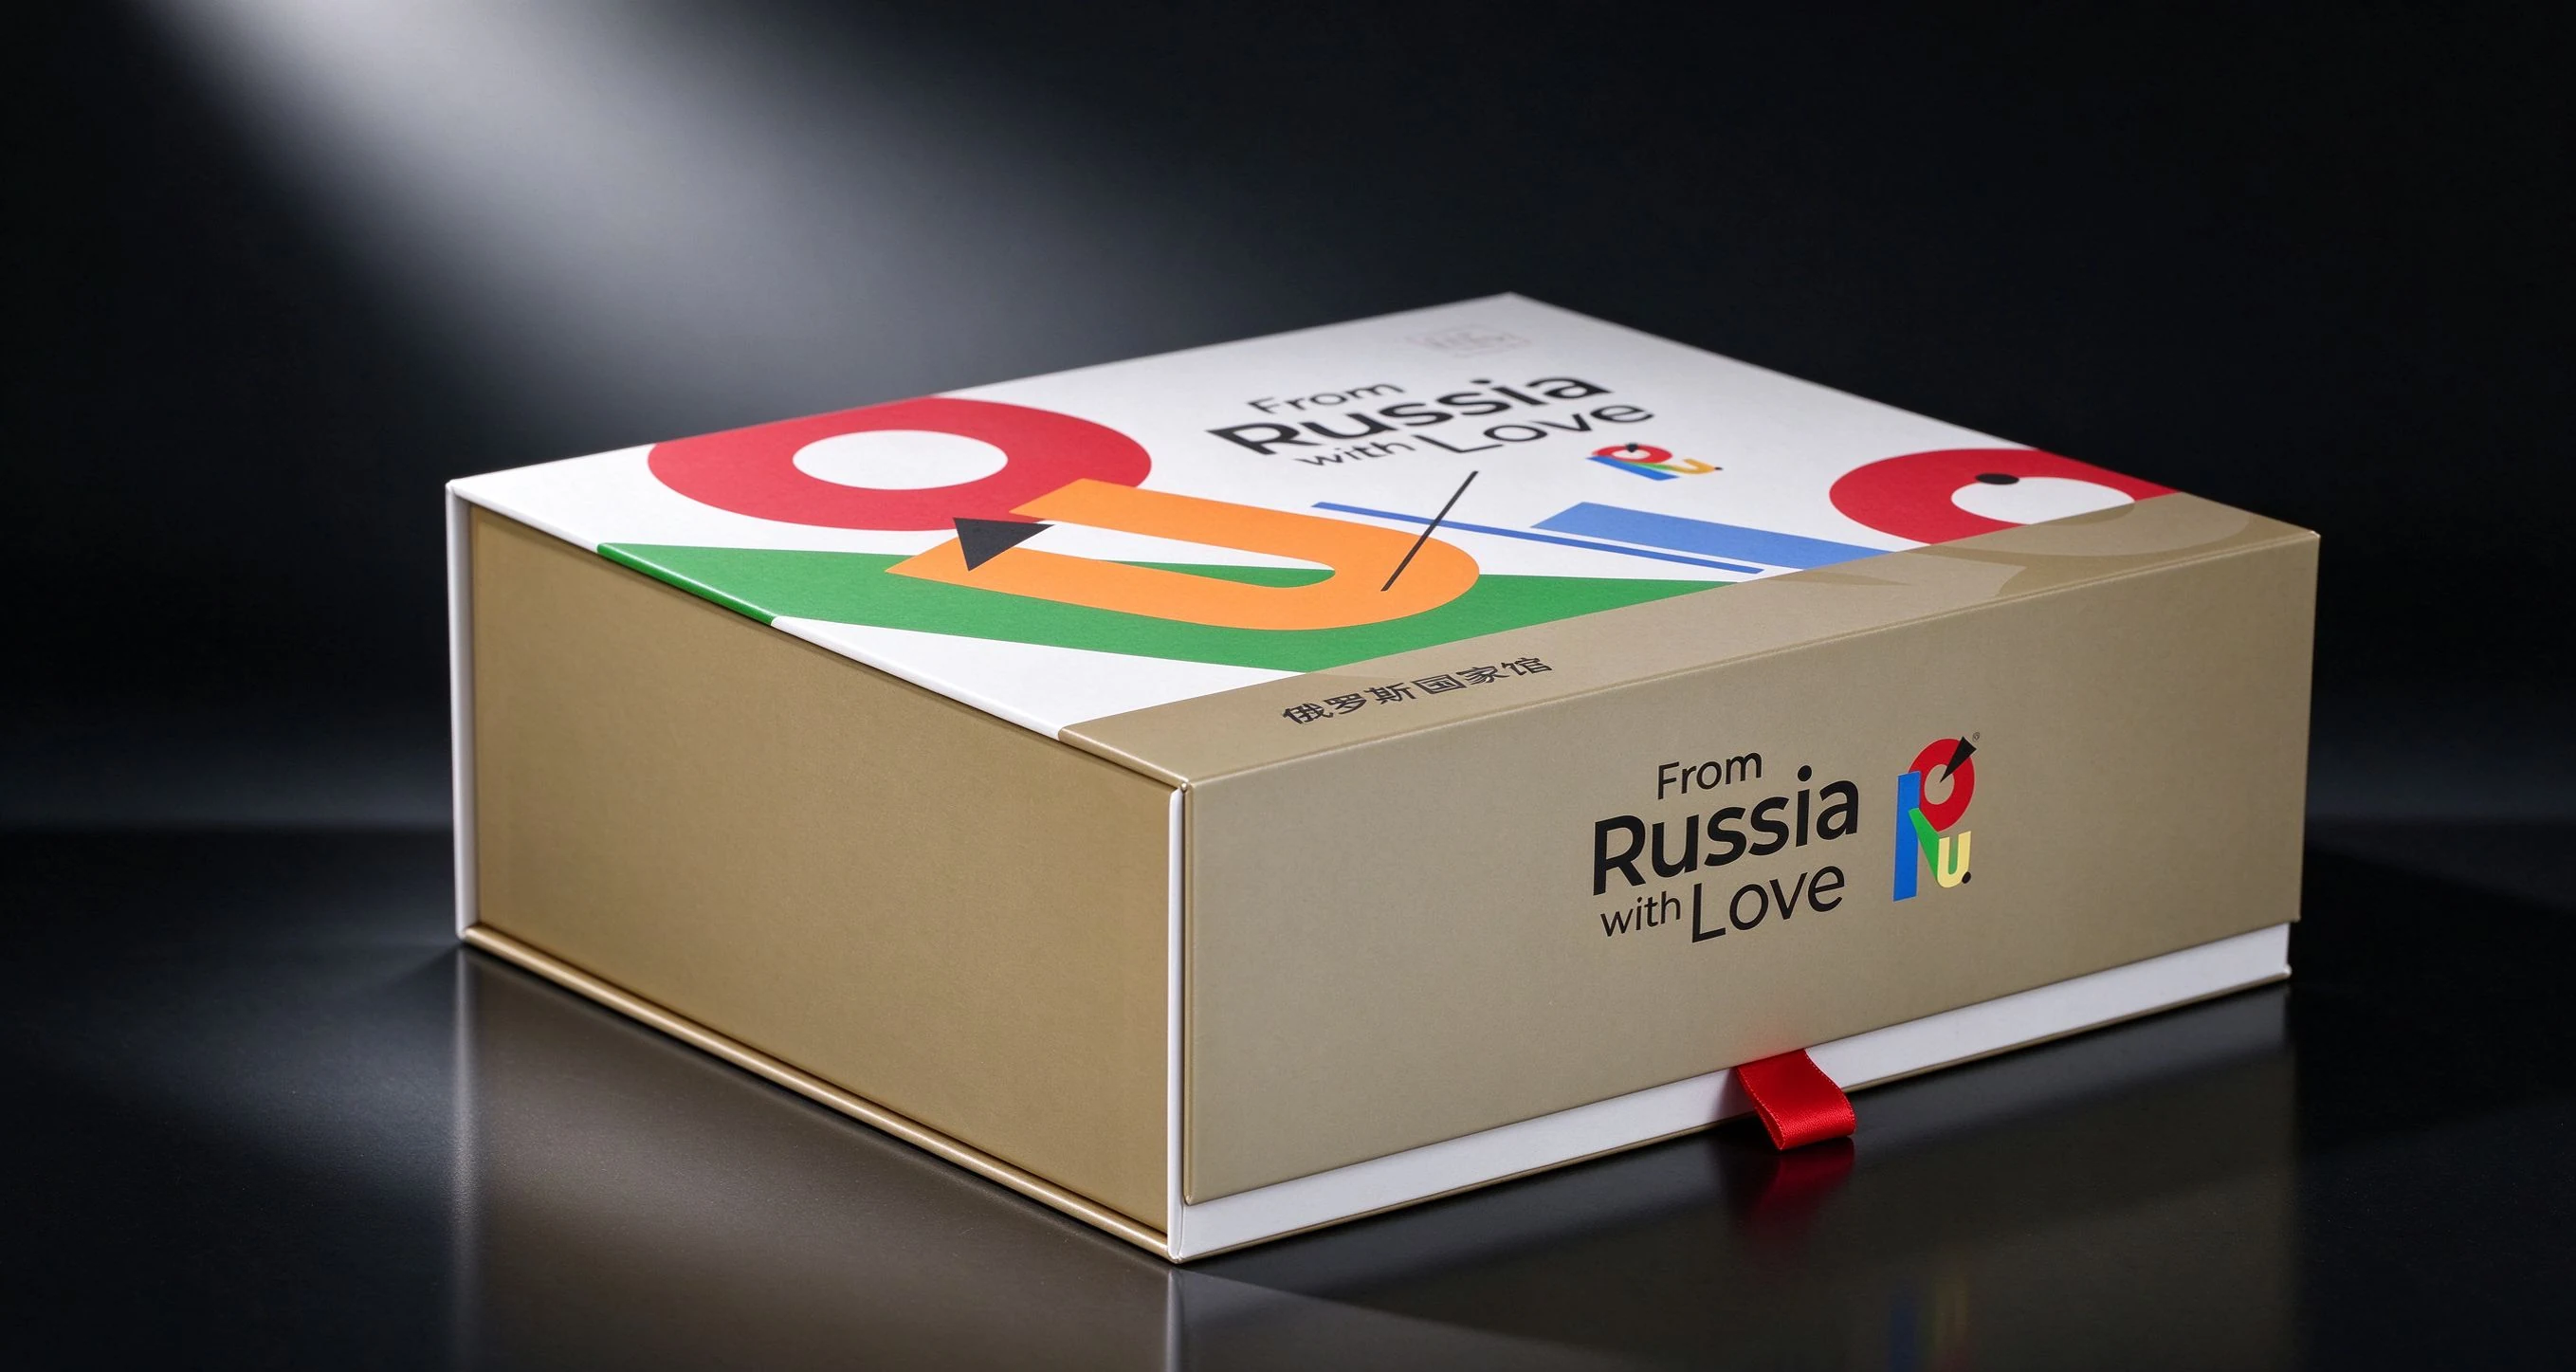
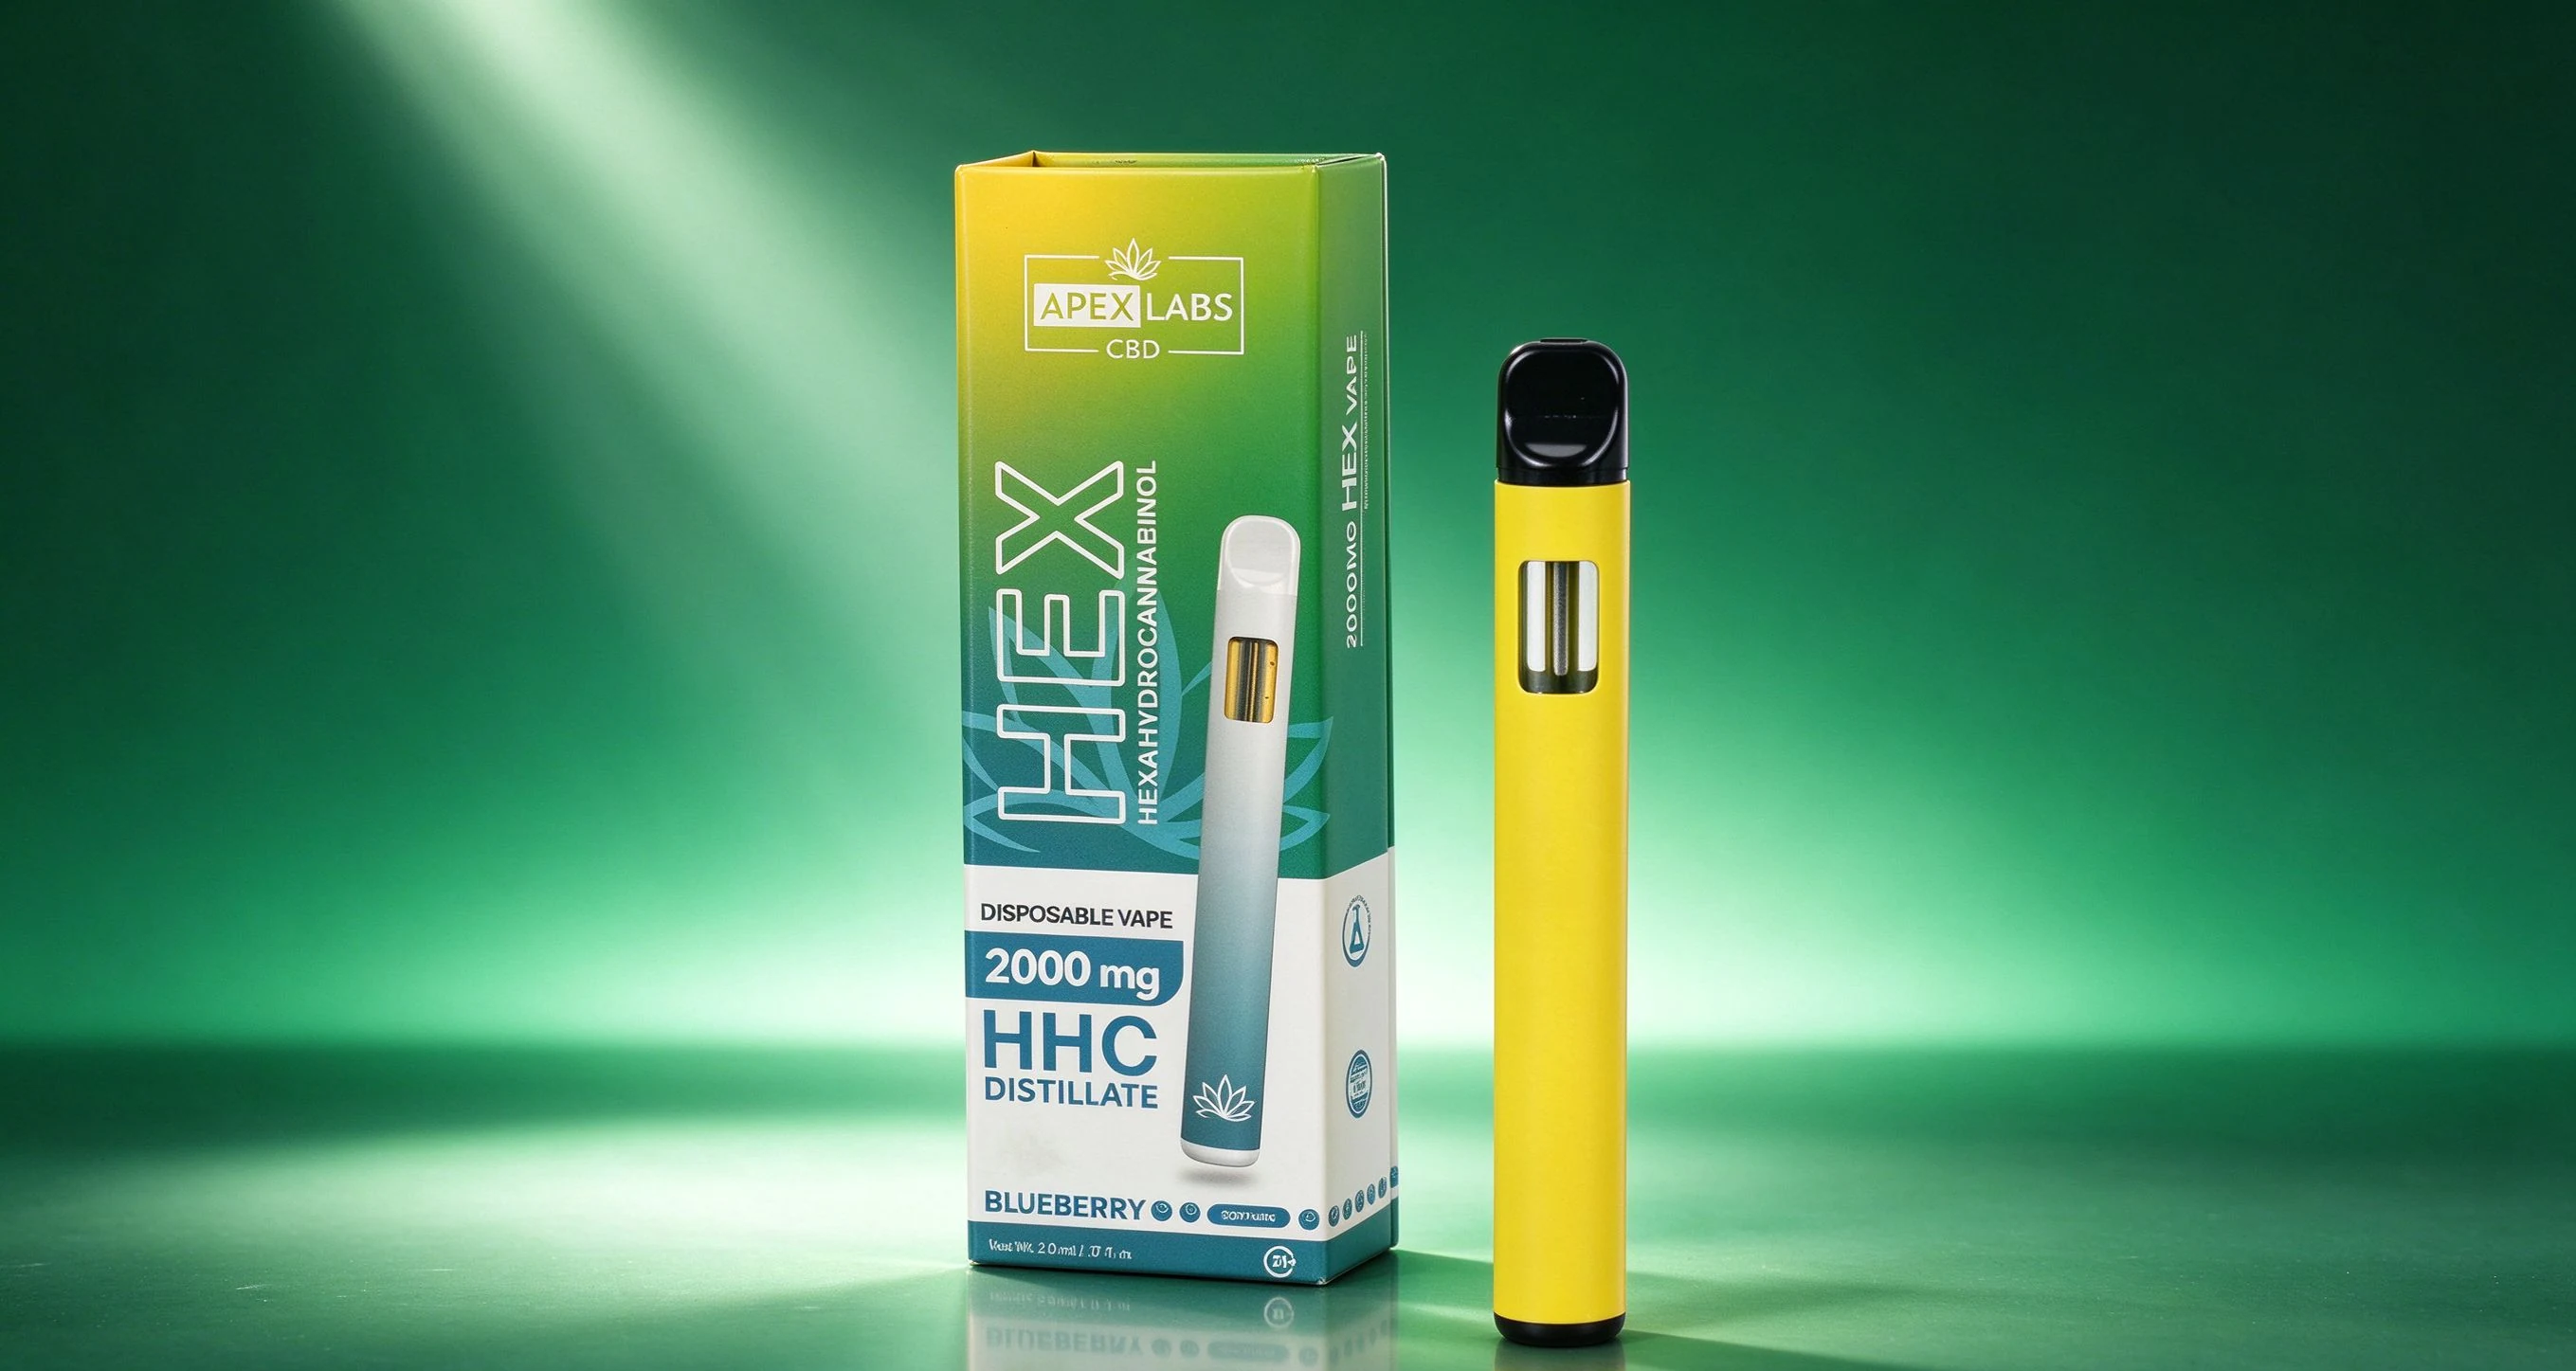
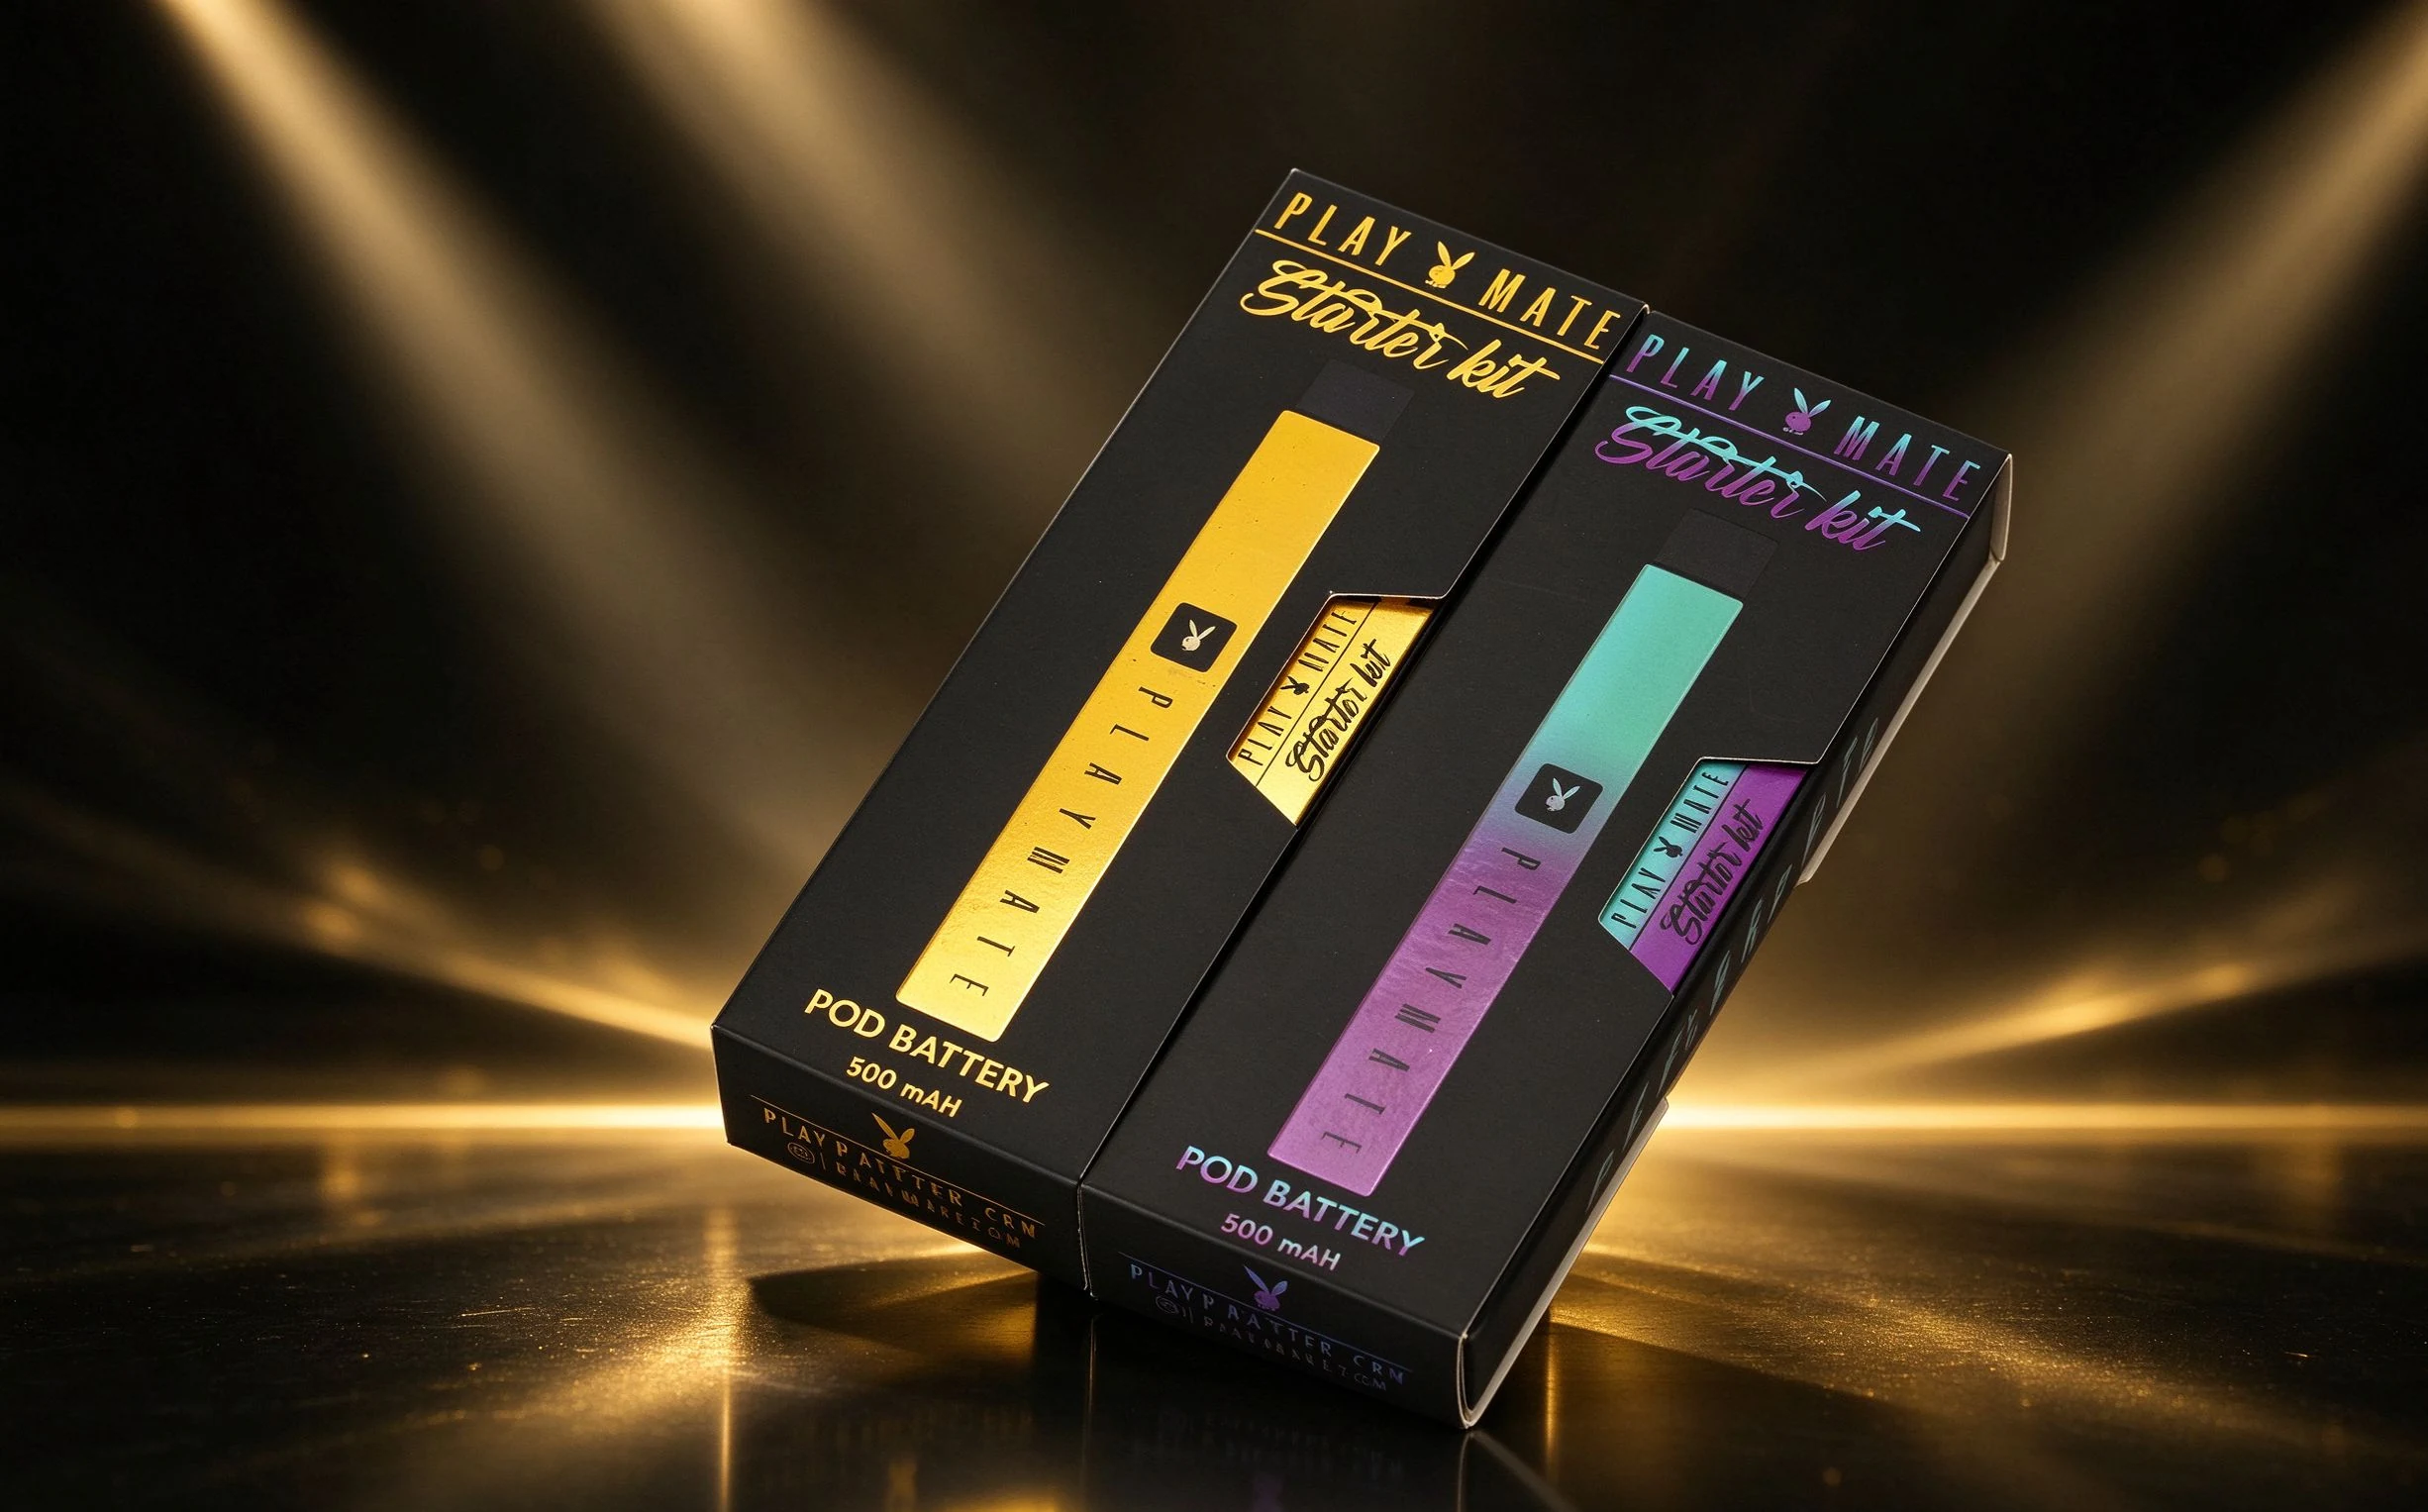
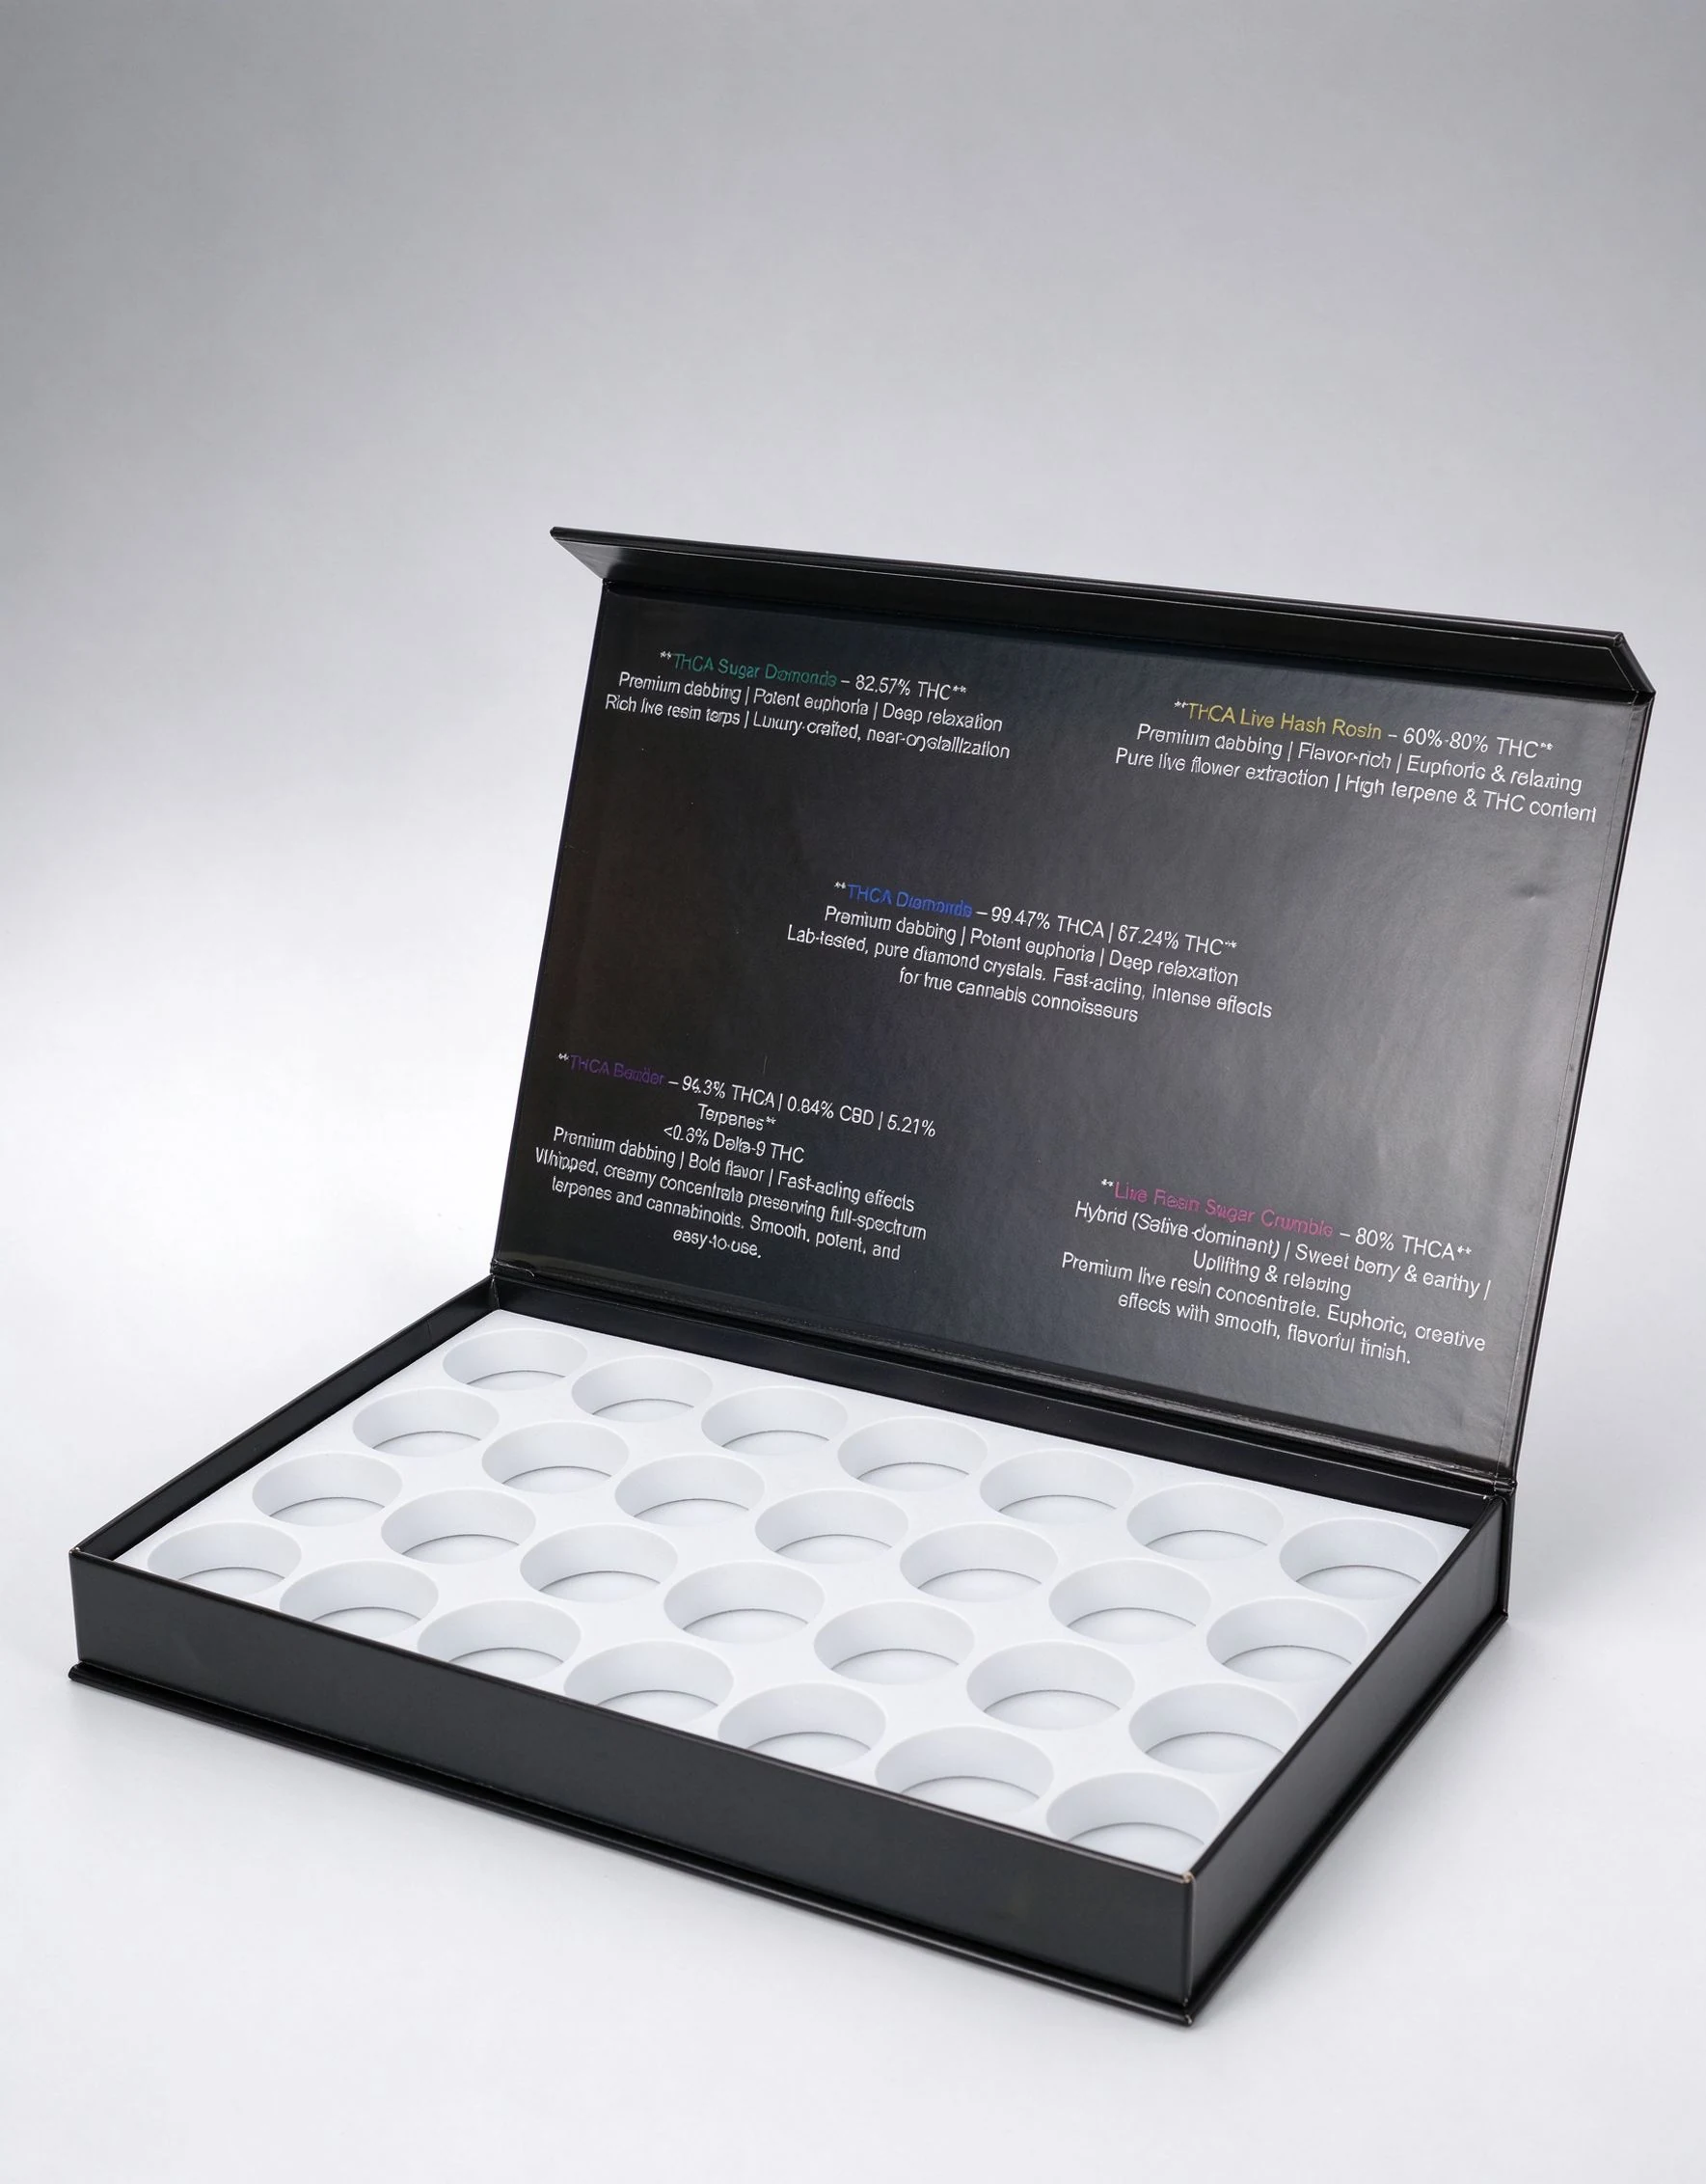
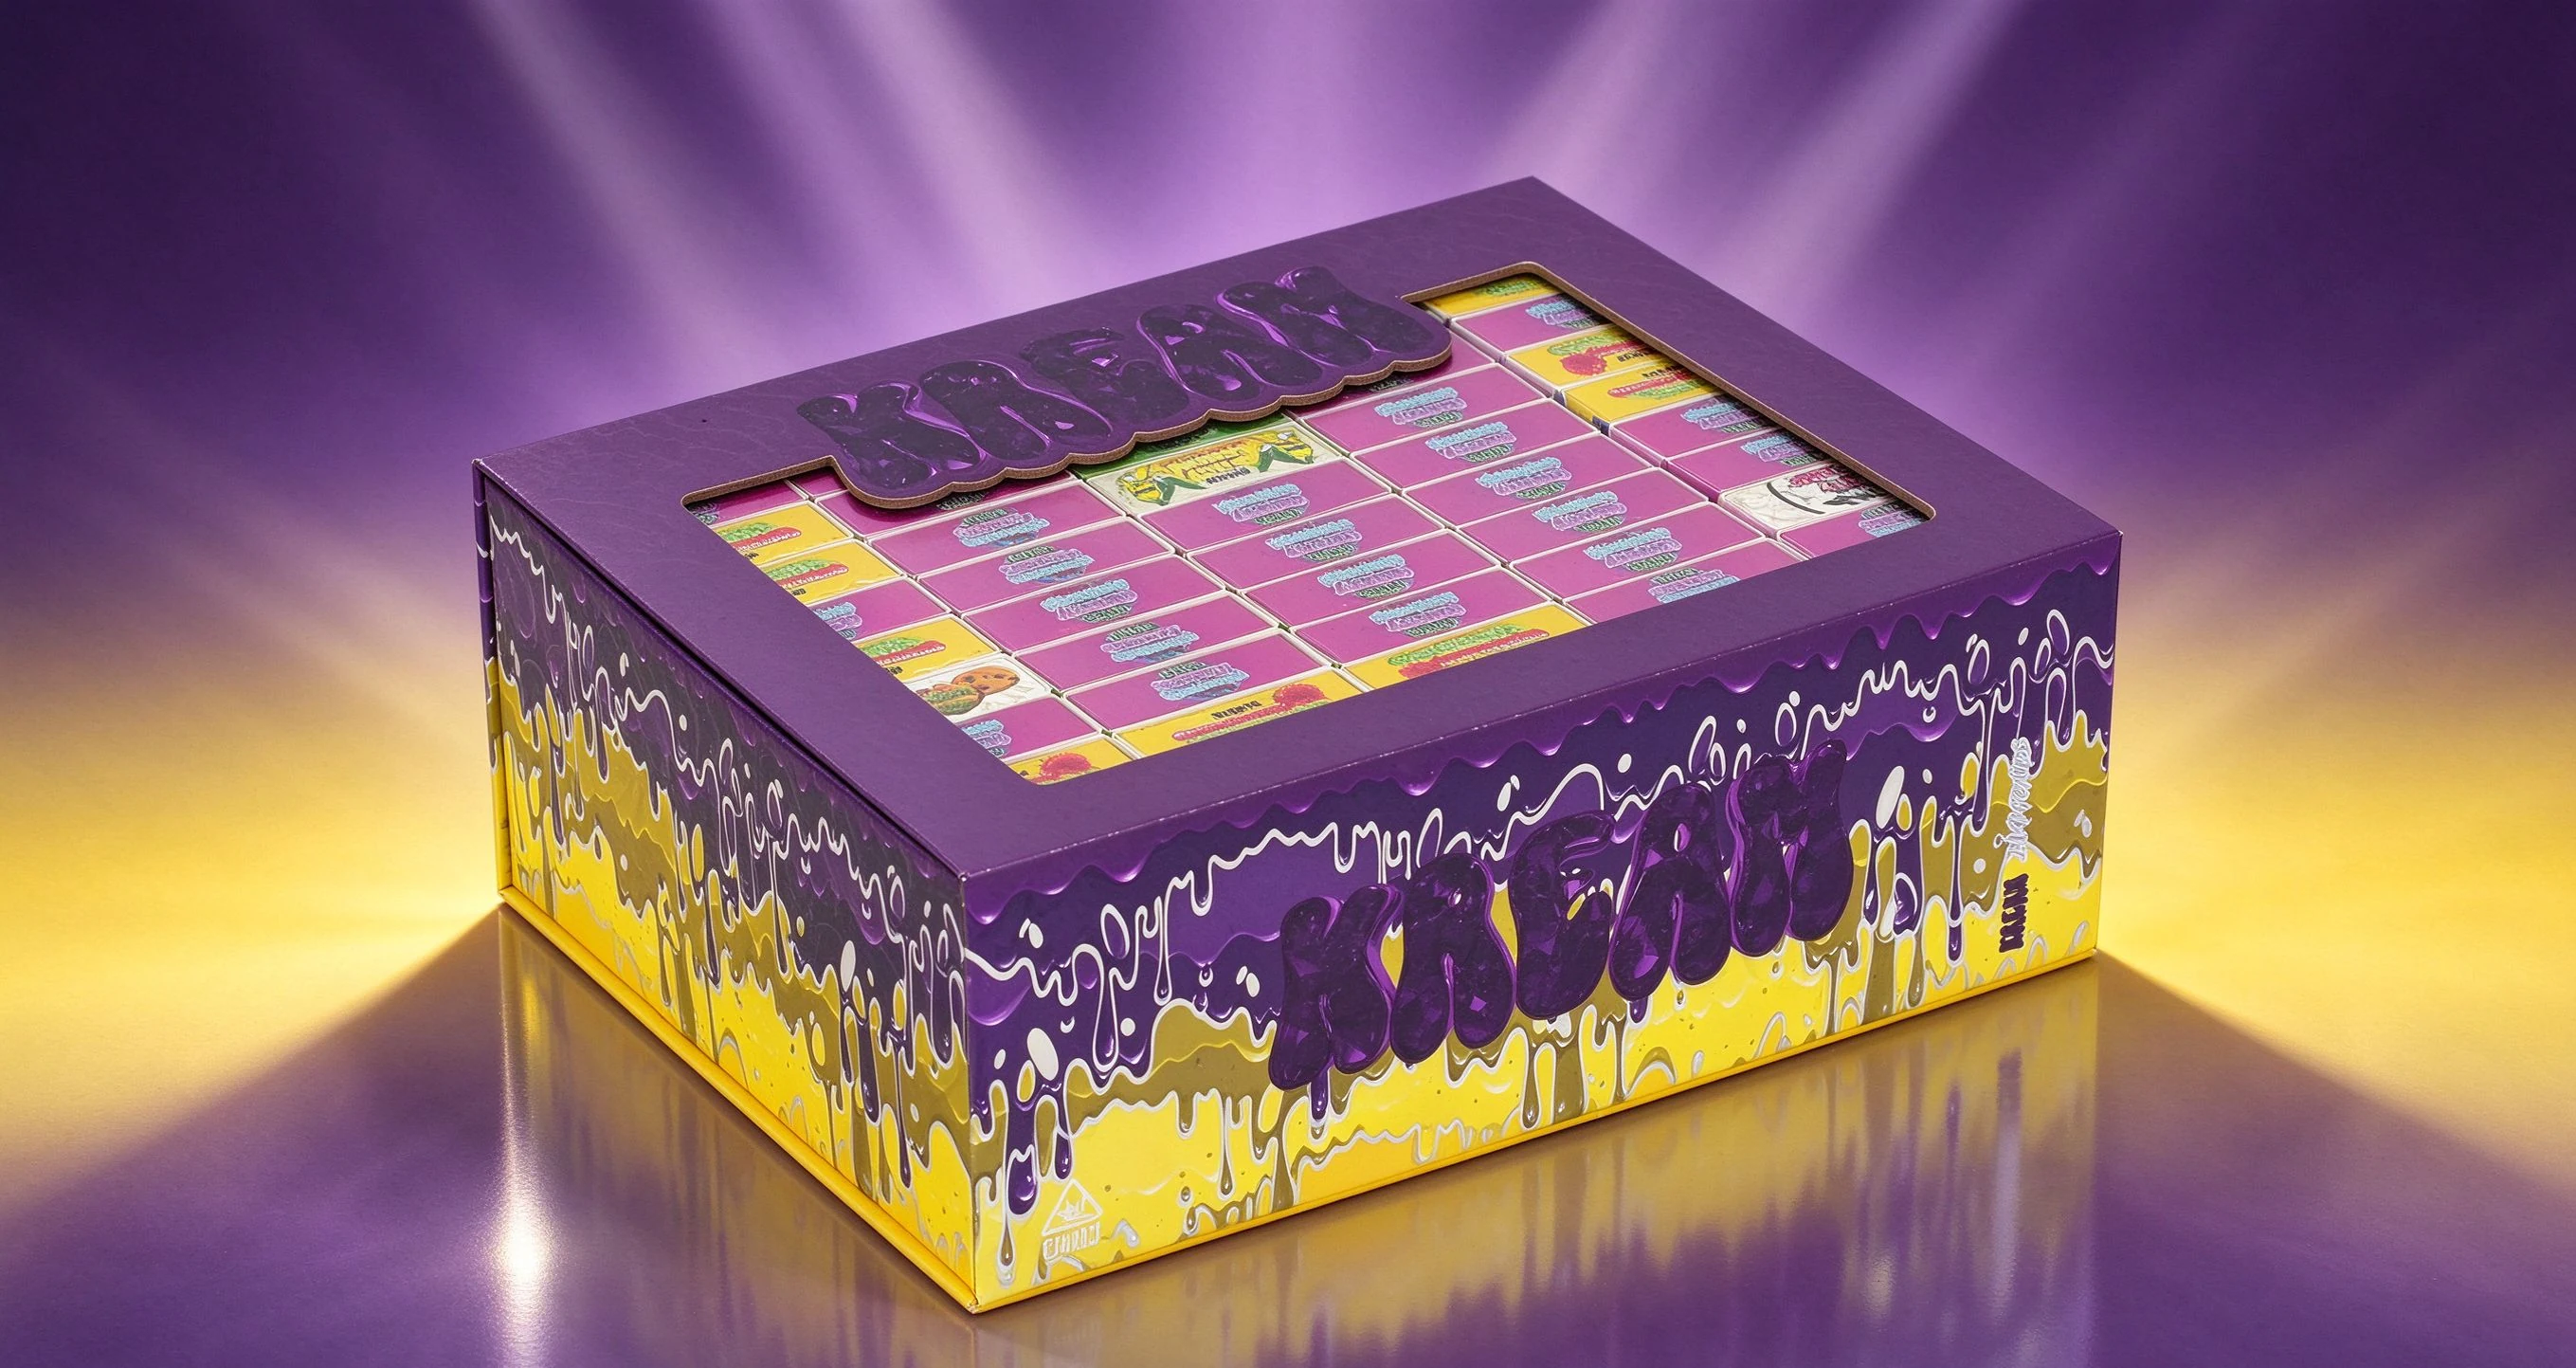

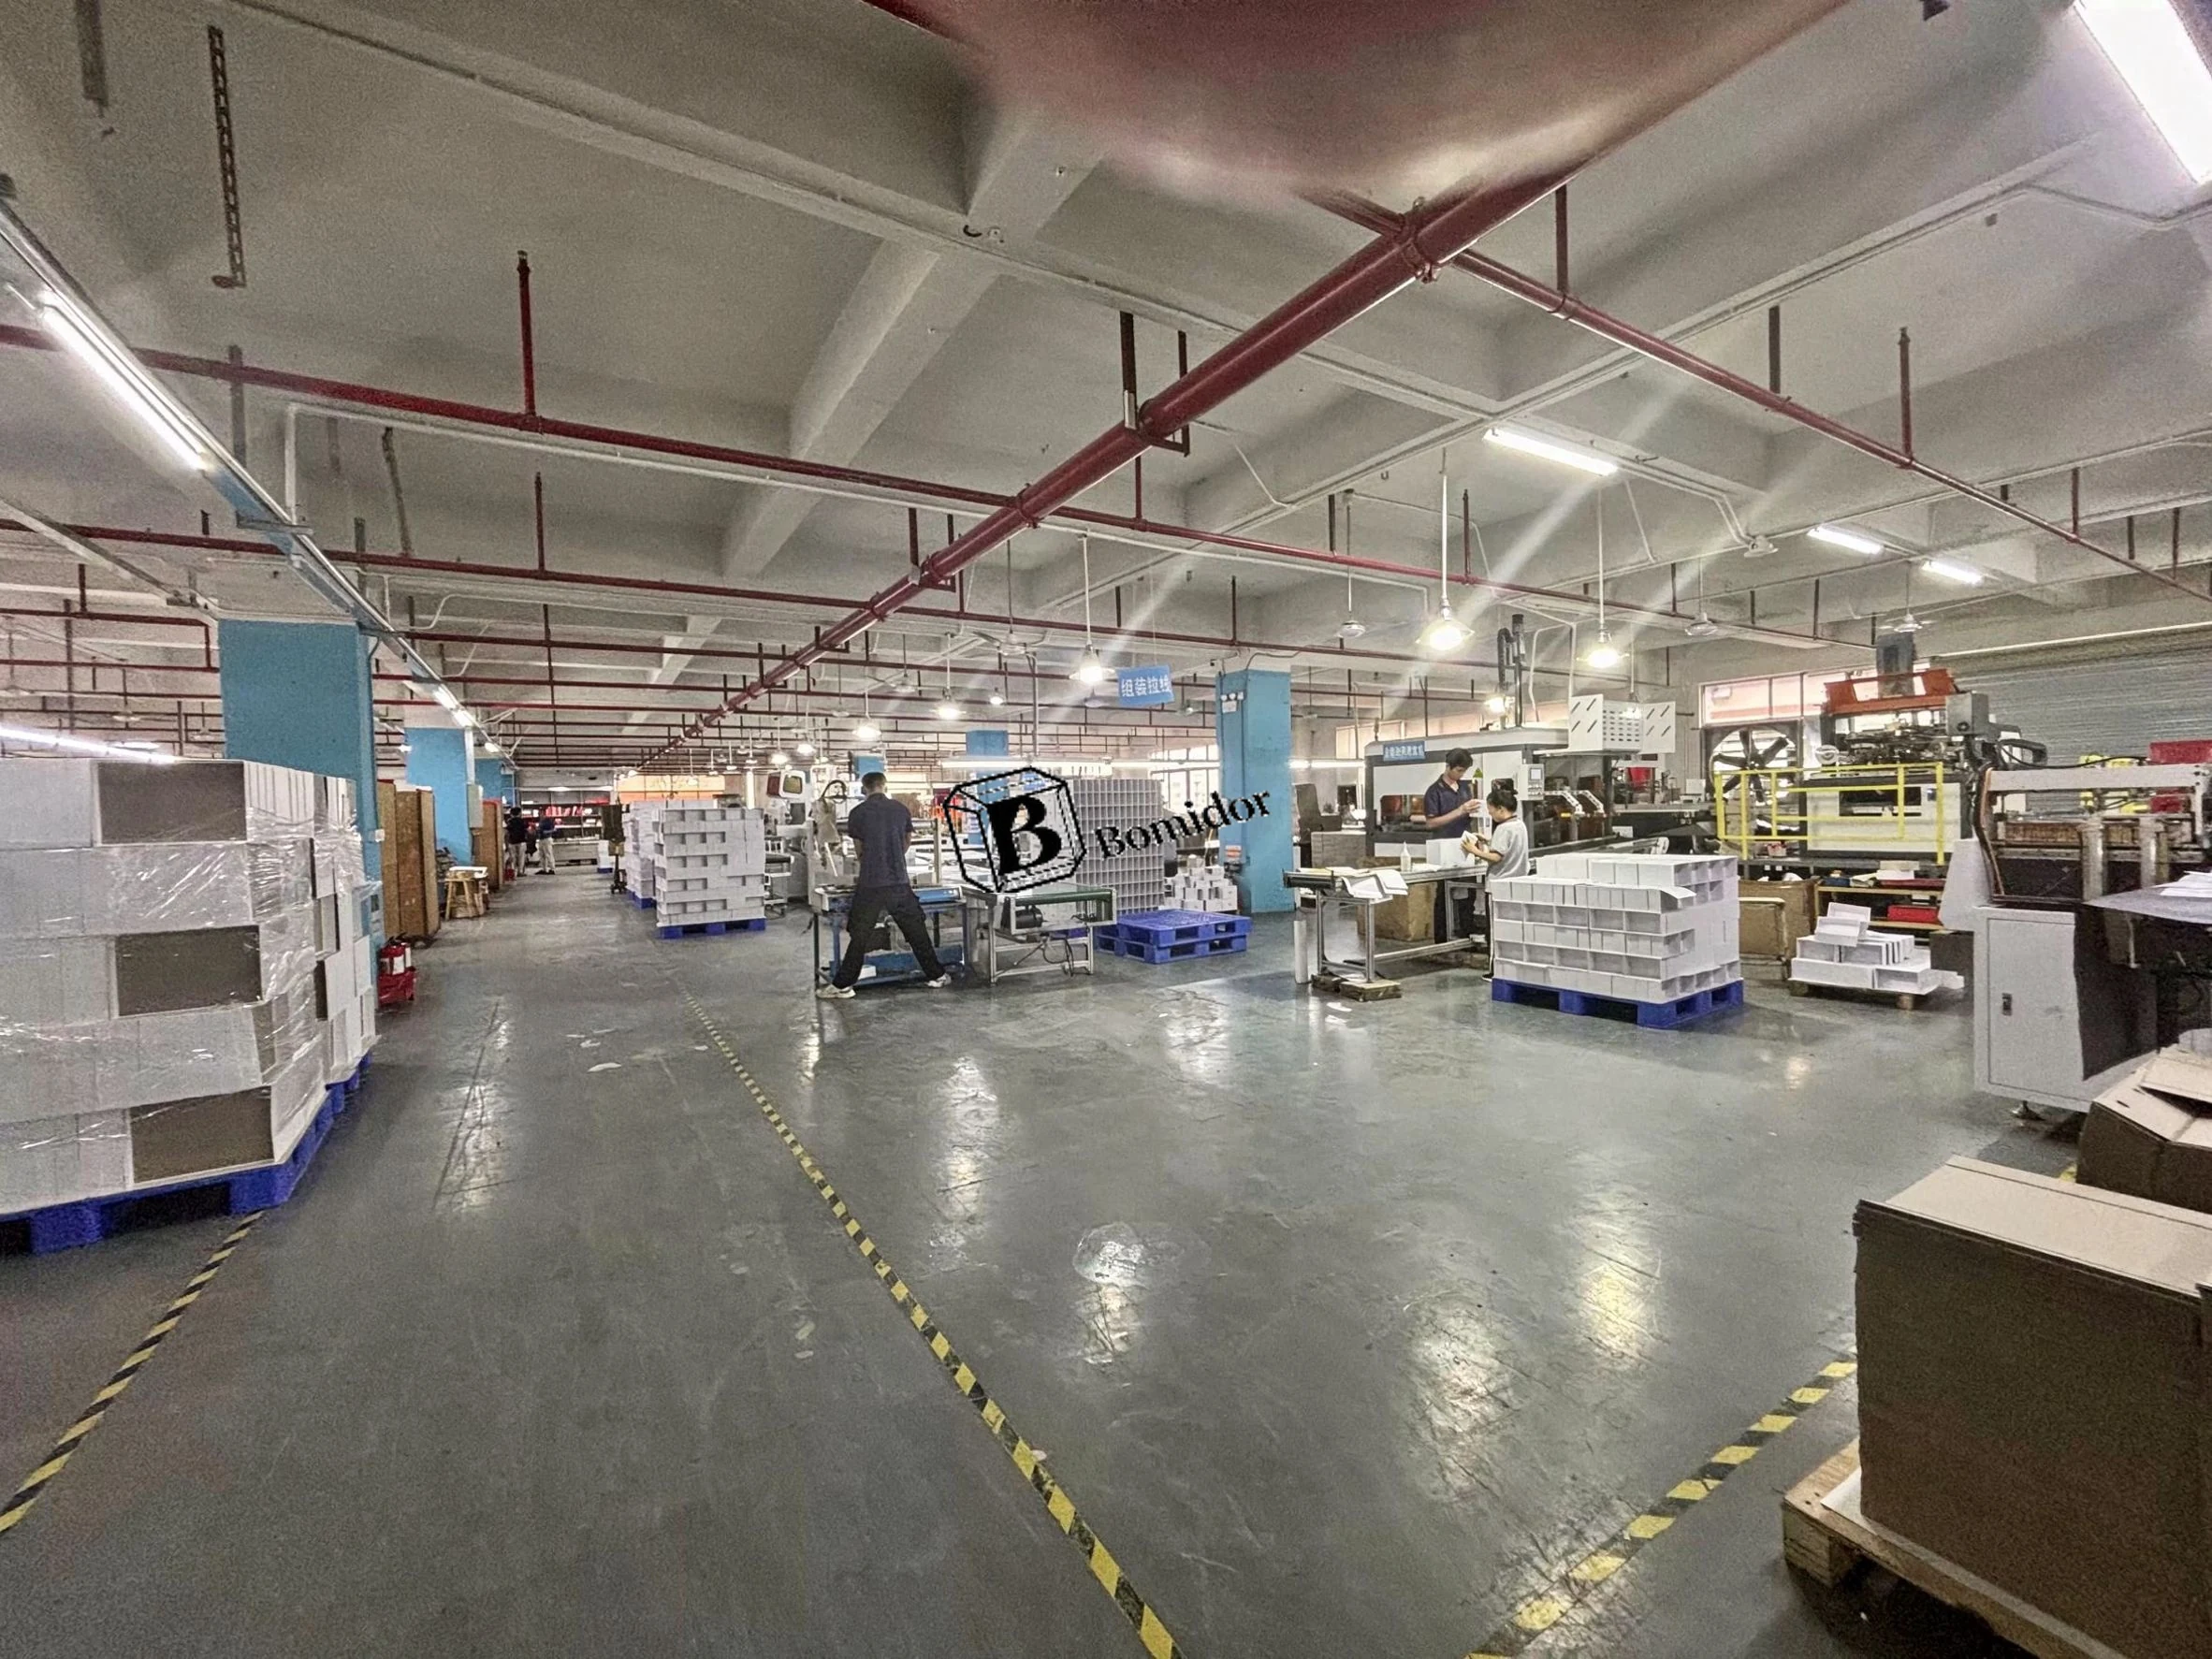

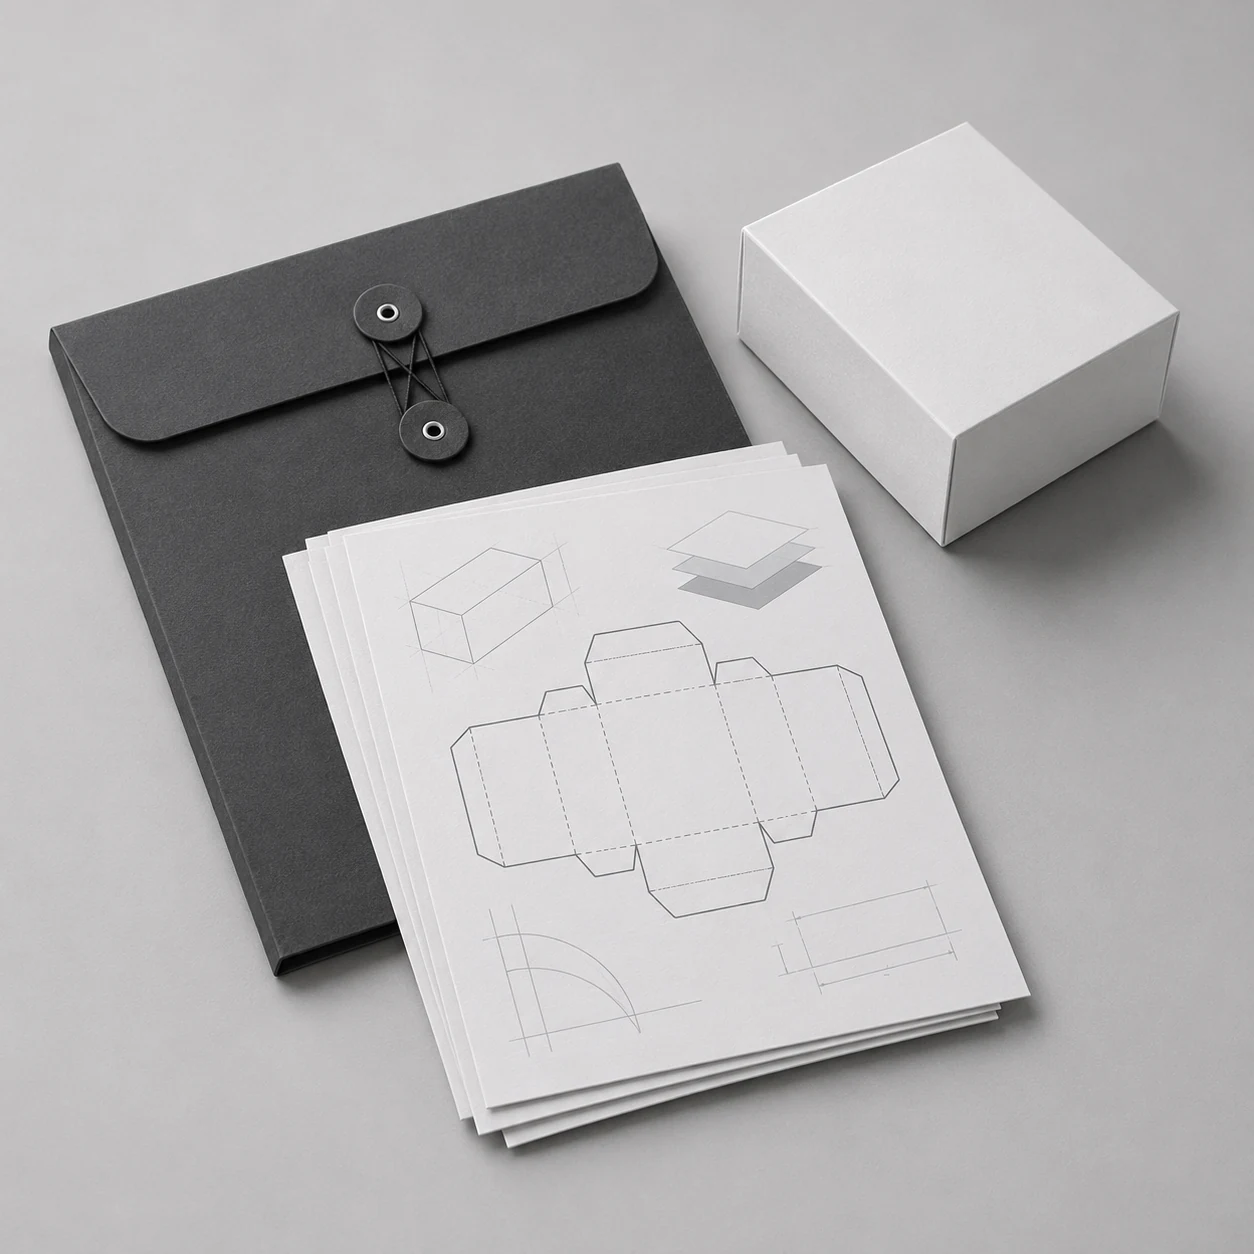
Measure the finished product, including protrusions.
Begin with the item that will actually be packed. Note the overall dimensions, including caps, switches or other projecting parts, and state whether the measurement includes a protective sleeve or retail label. Use the same units throughout the brief.
Length, width and height can be interpreted differently when a product is rotated. Add a photo or simple annotation identifying the three measured directions and the intended presentation. For a round or irregular item, describe the shape and include the relevant overall measurements rather than forcing the product into an unclear label.
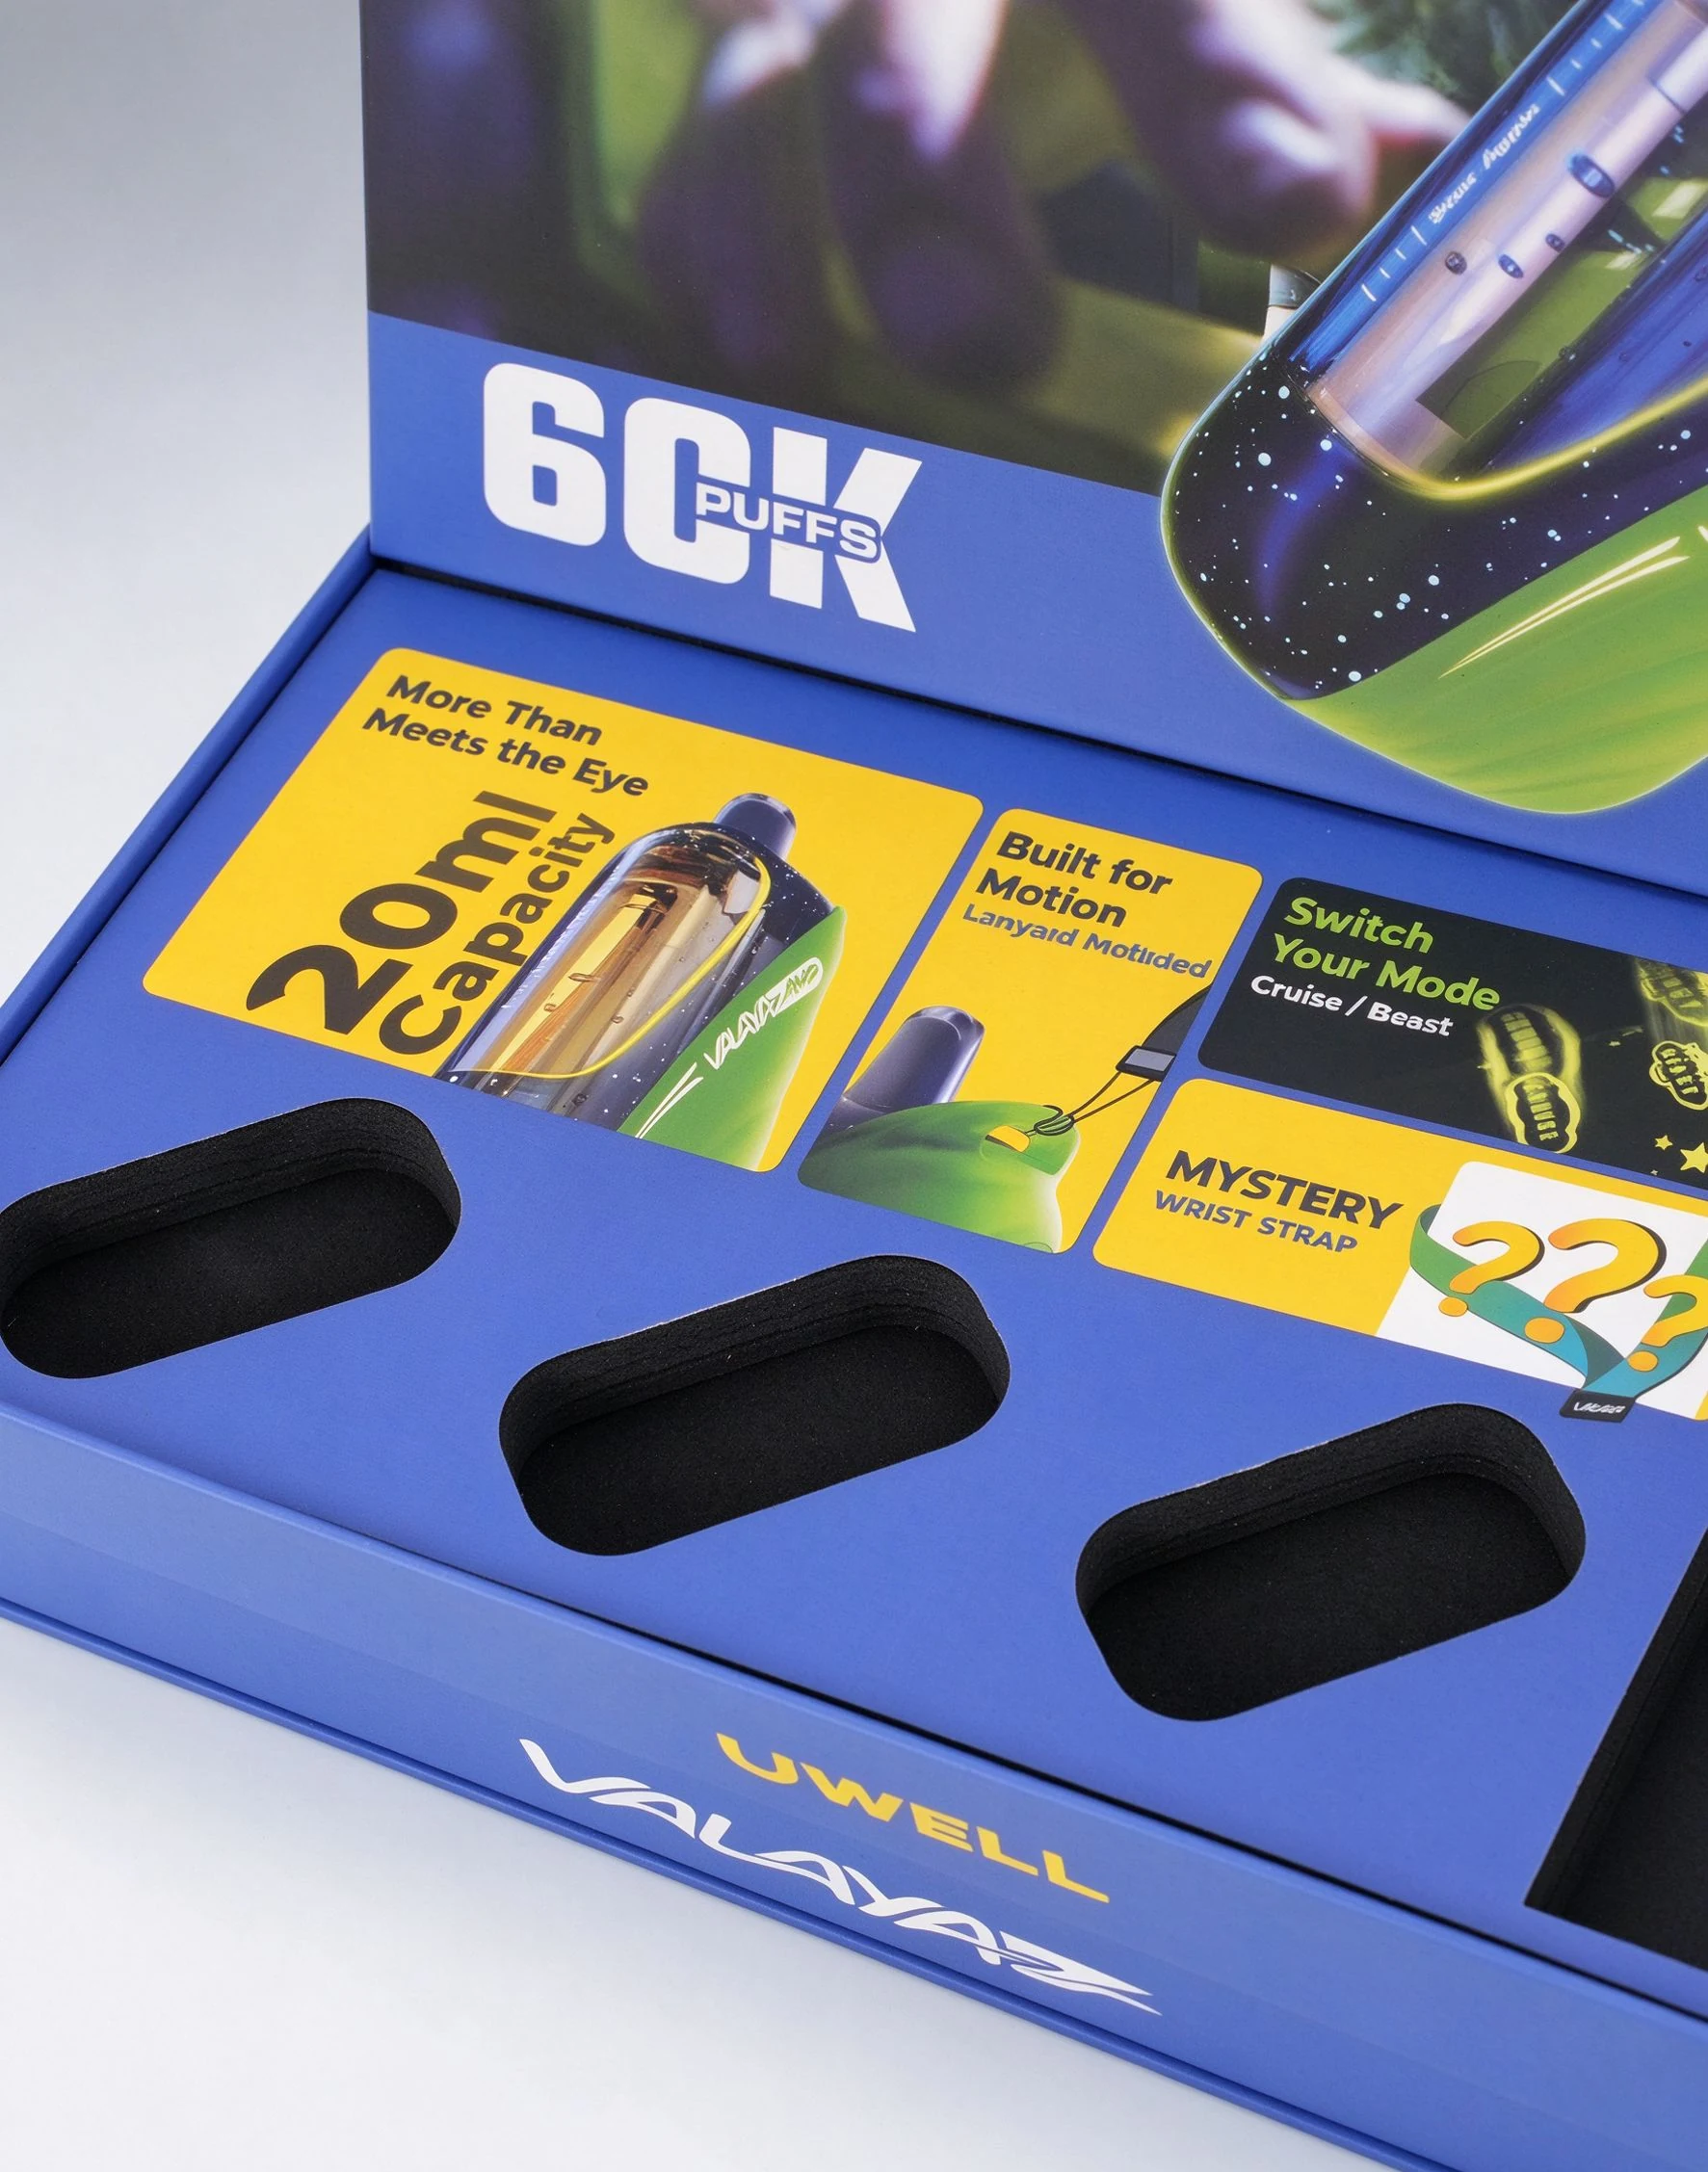
To measure a device and accessories for a packaging insert, record each component separately with units and its intended orientation. Keep internal and external box dimensions clearly labeled so product measurements are not mistaken for the finished package size.
Label which dimensions you are supplying.
Keep product dimensions, usable internal box space and external box dimensions separate. If you have measured an existing box, explain whether you measured inside or outside and how it opens.
Do not derive a production box size by adding an arbitrary clearance to the product. The structure, insert, material and intended access have to be considered together. Let the drawing and sample establish the final specification.
| Dimension type | What it describes | What to add |
|---|---|---|
| Product | The actual item or component being packed. | Units, orientation and any sleeve, cap or accessory included. |
| Internal box | The space measured inside an existing or requested structure. | Where it was measured and whether an insert occupies part of it. |
| External box | The outside dimensions of an existing or requested box. | The opening state and whether the lid or other parts are included. |
Measure every component in a kit.
Create one line for the main product and one for each accessory. Include the quantity of each item per box and the preferred orientation. If the packaging holds a cable, state whether it is coiled, tied or supplied in another form.
Mark items whose final dimensions are still changing. A design based on an early prototype needs another check when the actual product is ready. Keep the date or revision of the product reference with the brief so changes remain traceable.
- Component name and quantity per pack.
- Dimensions, units and approximate weight.
- Orientation, access and any sensitive contact surfaces.
- Known changes or dimensions awaiting confirmation.
Add the constraints the ruler cannot capture.
Describe how the pack will be used: a single product, a kit, a gift presentation or a counter display. For a display, include product count and any known shelf or counter footprint. For a kit, explain which parts should be seen first.
State your preferred opening and any fixed external size limit. If there is an existing packing or transport arrangement, describe it. These details help distinguish a product-fit question from a presentation or logistics constraint.
Send a brief that separates facts from preferences.
You do not need every design decision before starting a conversation. Clearly mark which measurements are confirmed, which choices are preferences and which questions need help. Add the estimated order quantity, artwork status, destination and target date.
Keep a copy of the brief with any subsequent drawing or sample reference. When the design changes, update the affected measurements and check that everyone is reviewing the same version.
- Product and accessory list with measured dimensions and units.
- Photos or references explaining orientation and the desired opening.
- Requested insert and finish details, or a note that selection help is needed.
- Estimated quantity, destination, timing and artwork status.
Put the guide to work.
Share your product and the decisions you want to explore next.
Start Your Packaging Brief