
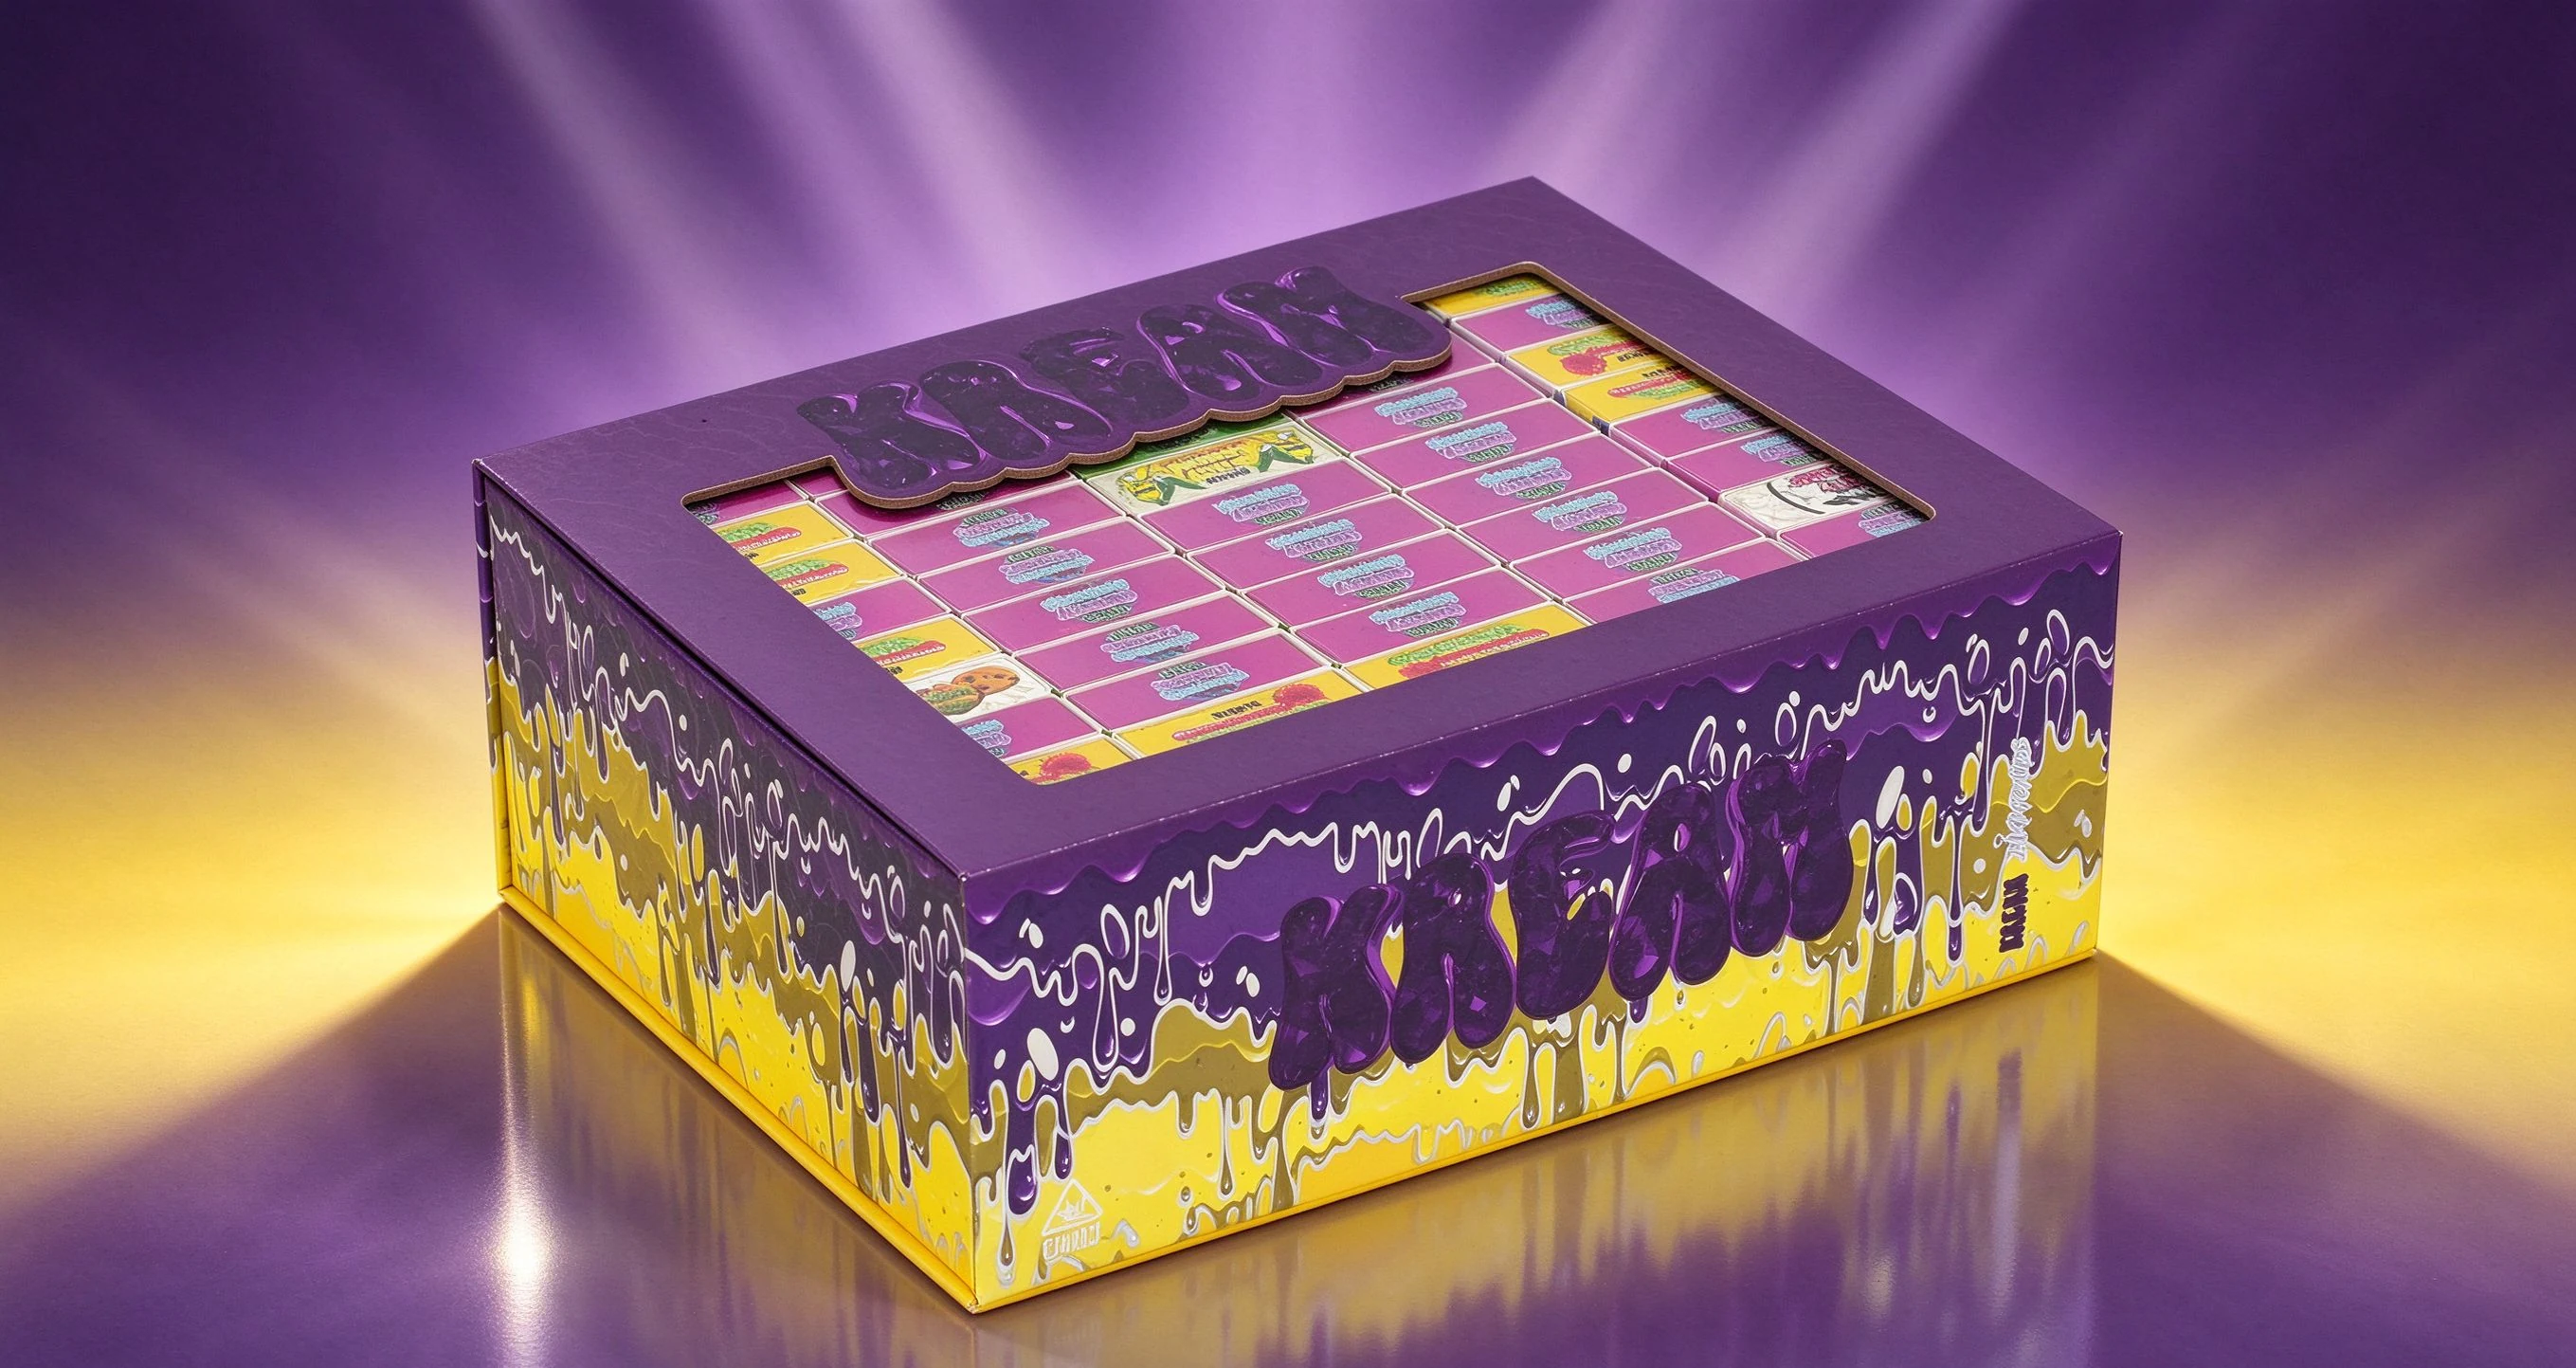

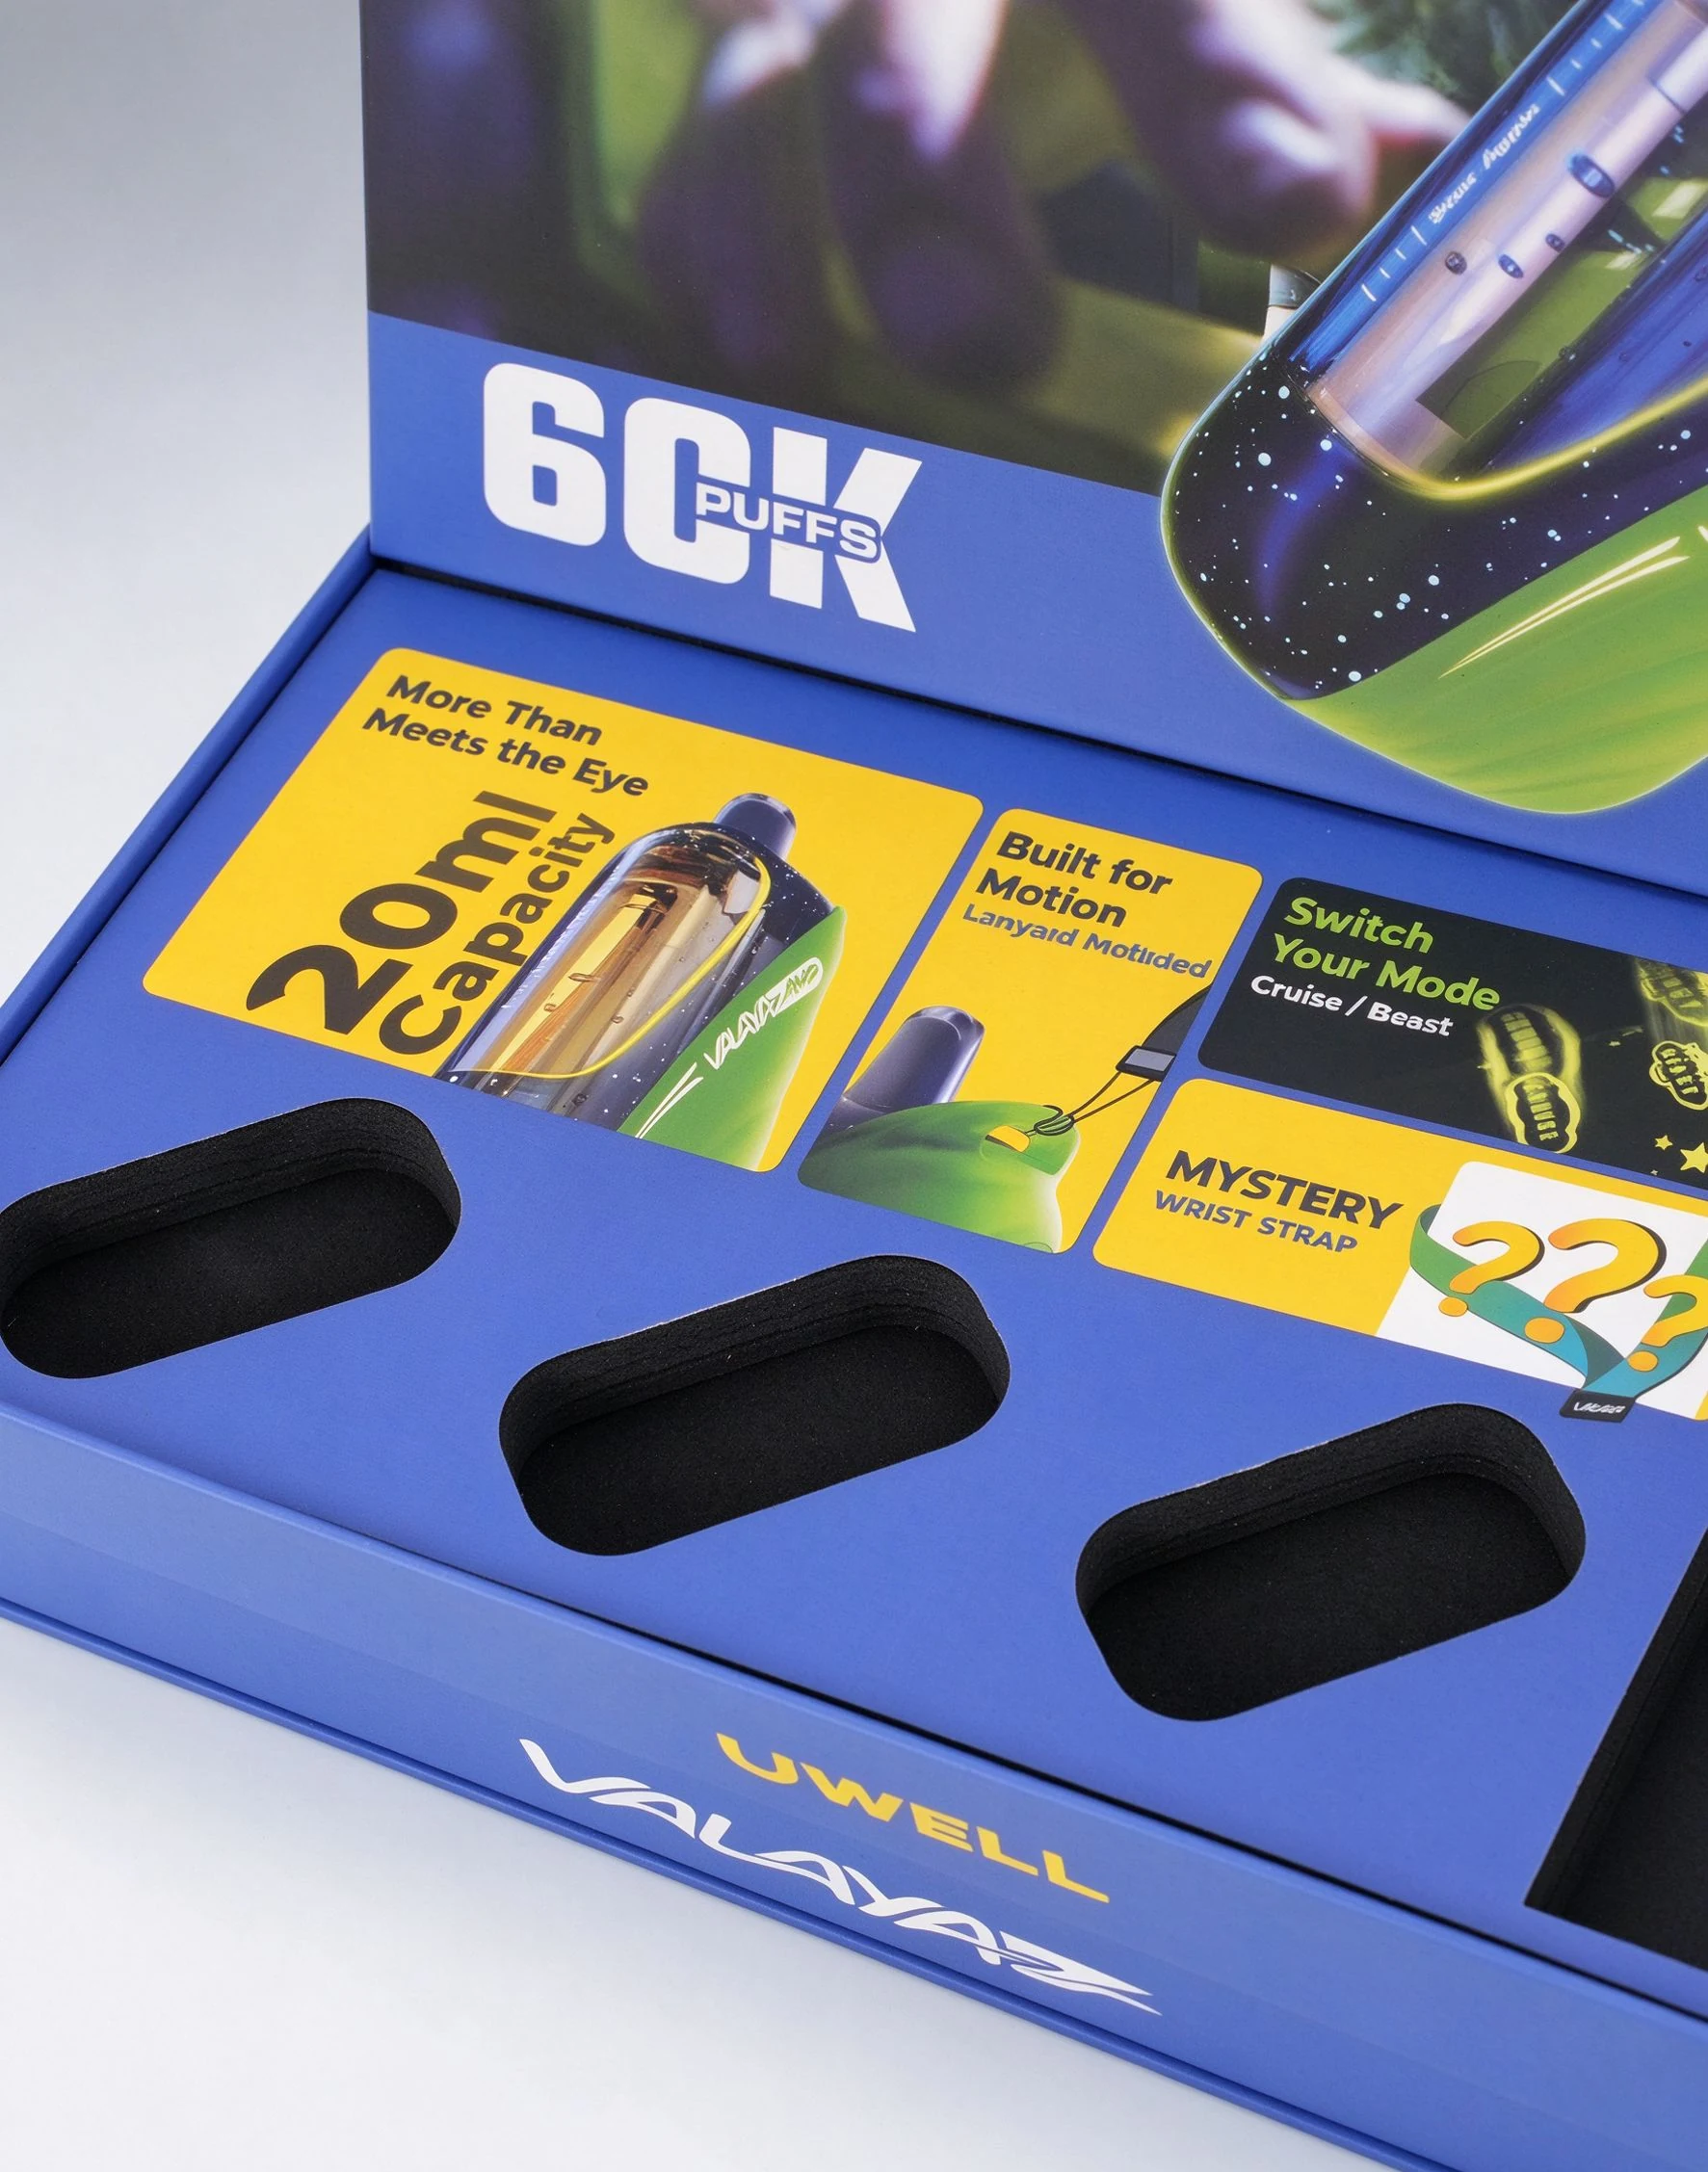

Start with the contact points.
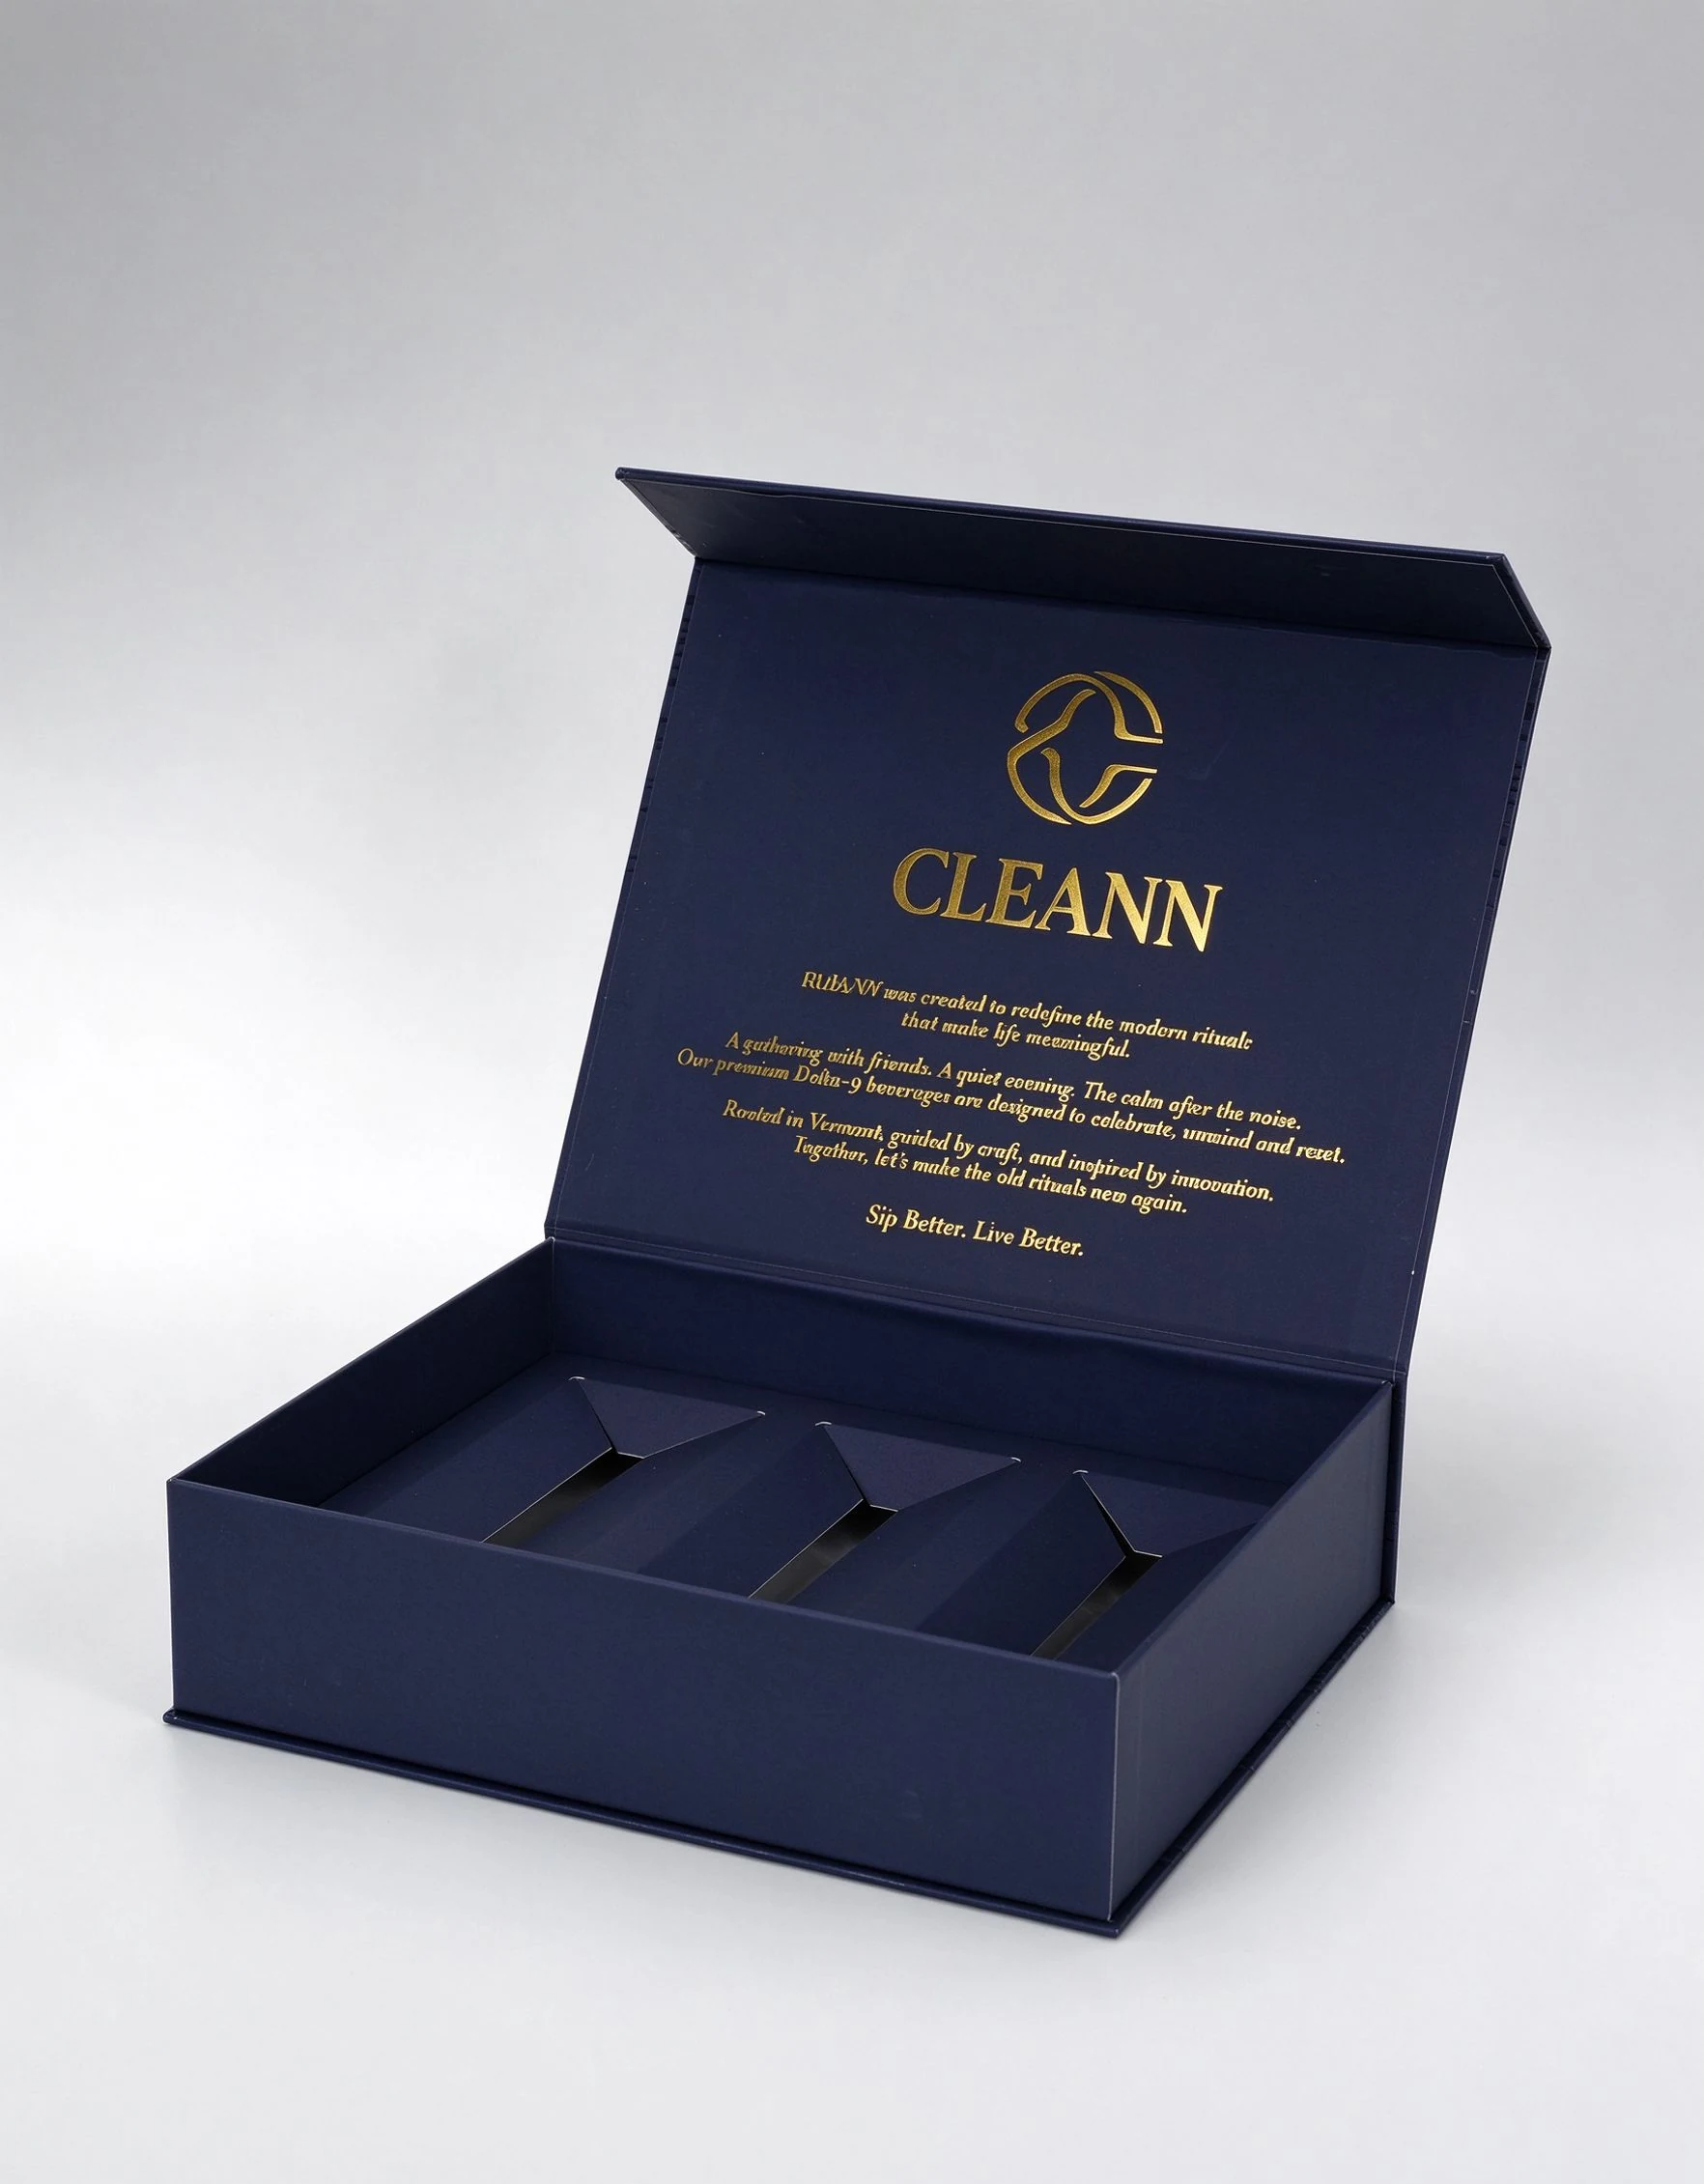
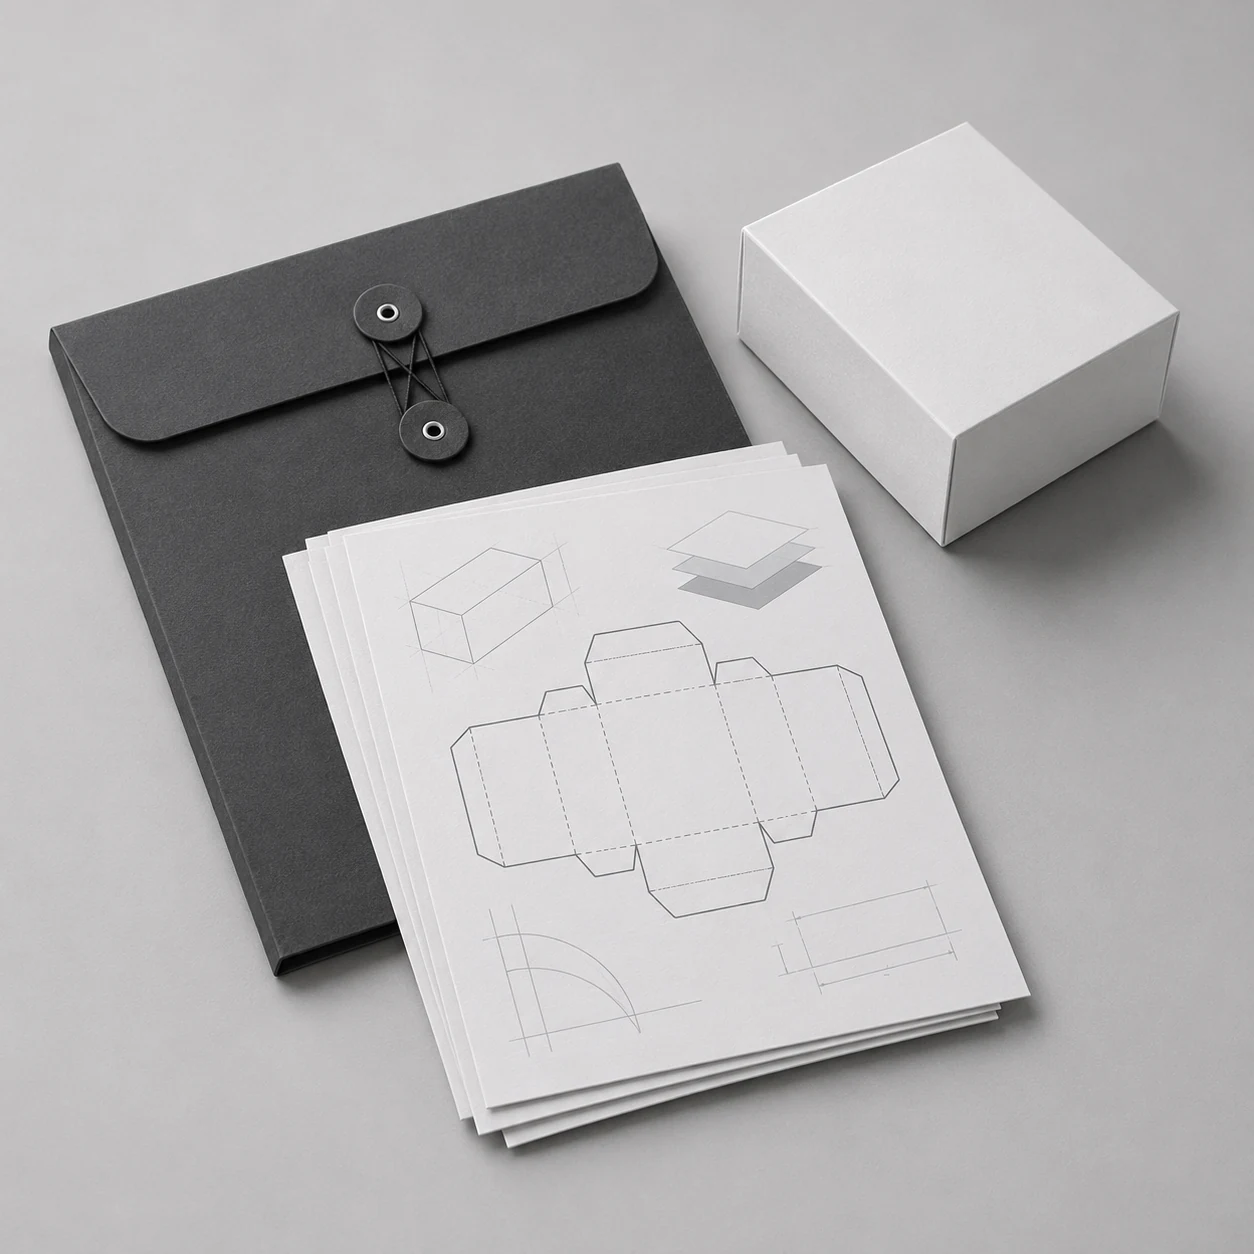
List what goes inside the box and how each item should sit. Mark the surfaces that can be supported, the surfaces that should avoid pressure and the areas the user needs to grip. A drawing or annotated product photo can make these points much easier to discuss.
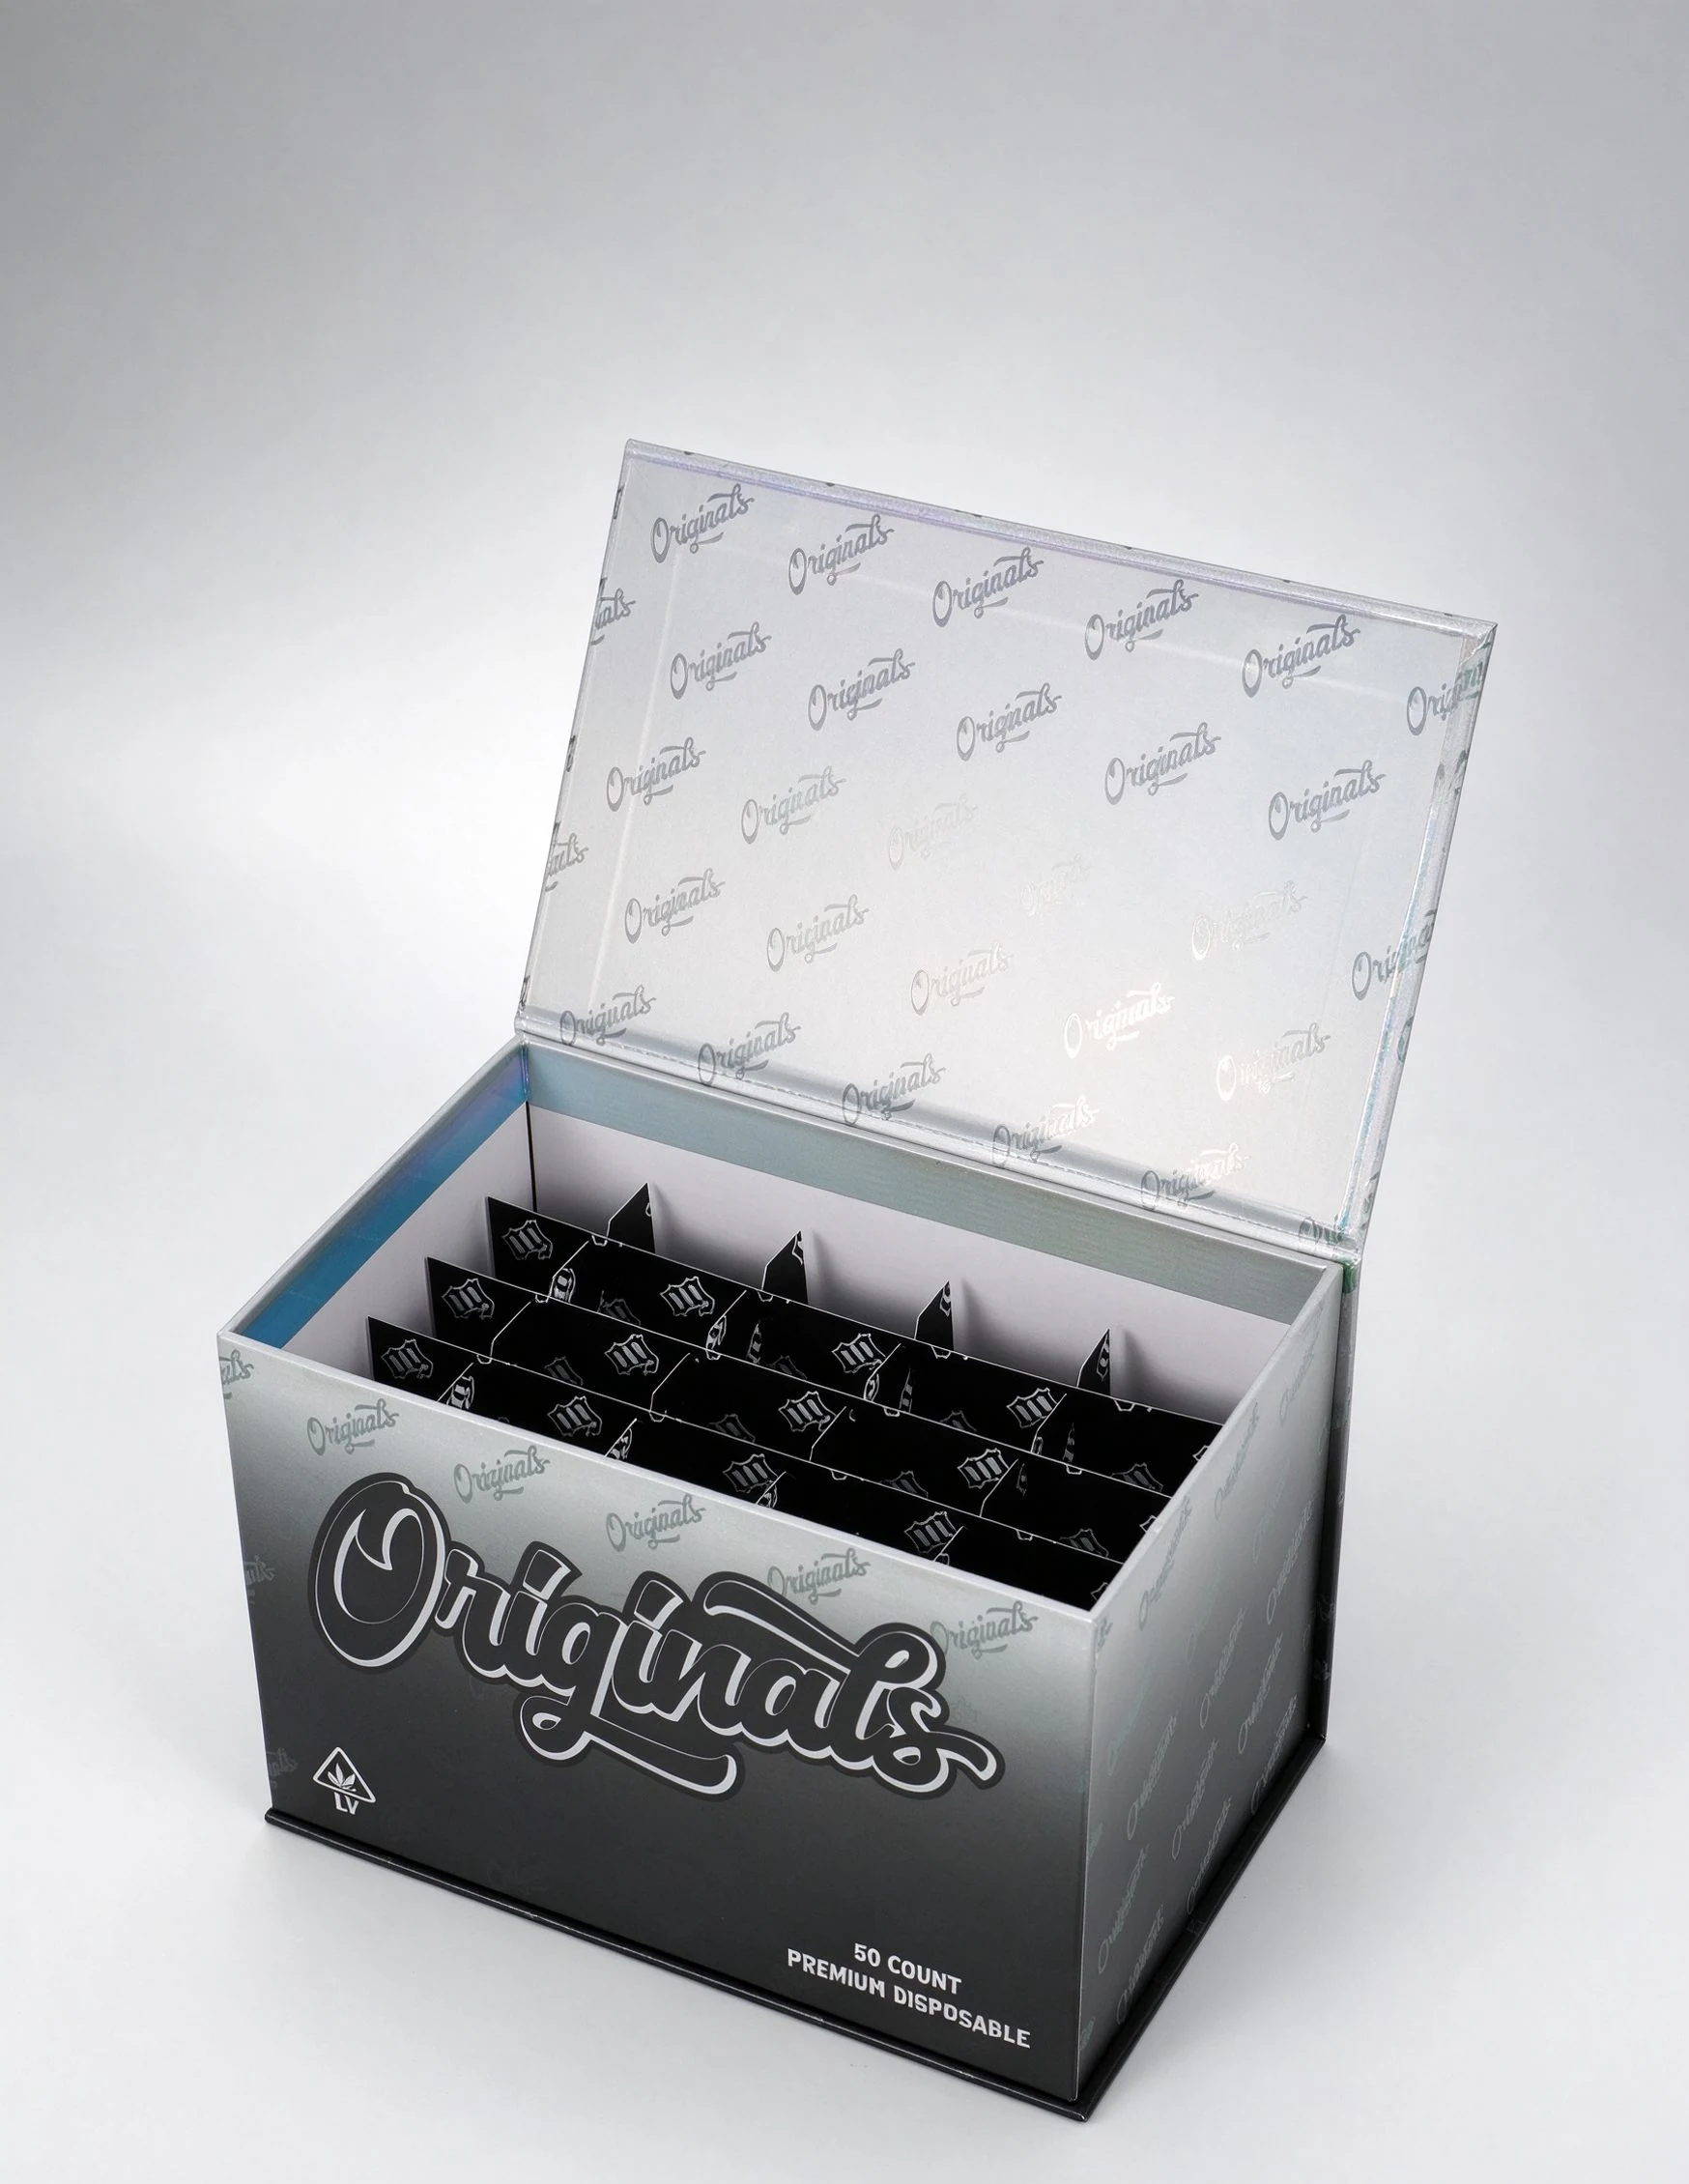
For a multi-part kit, also identify loose accessories and the intended unpacking order. Two products with the same outer dimensions can need different support if their weight distribution, surface or shape differs.
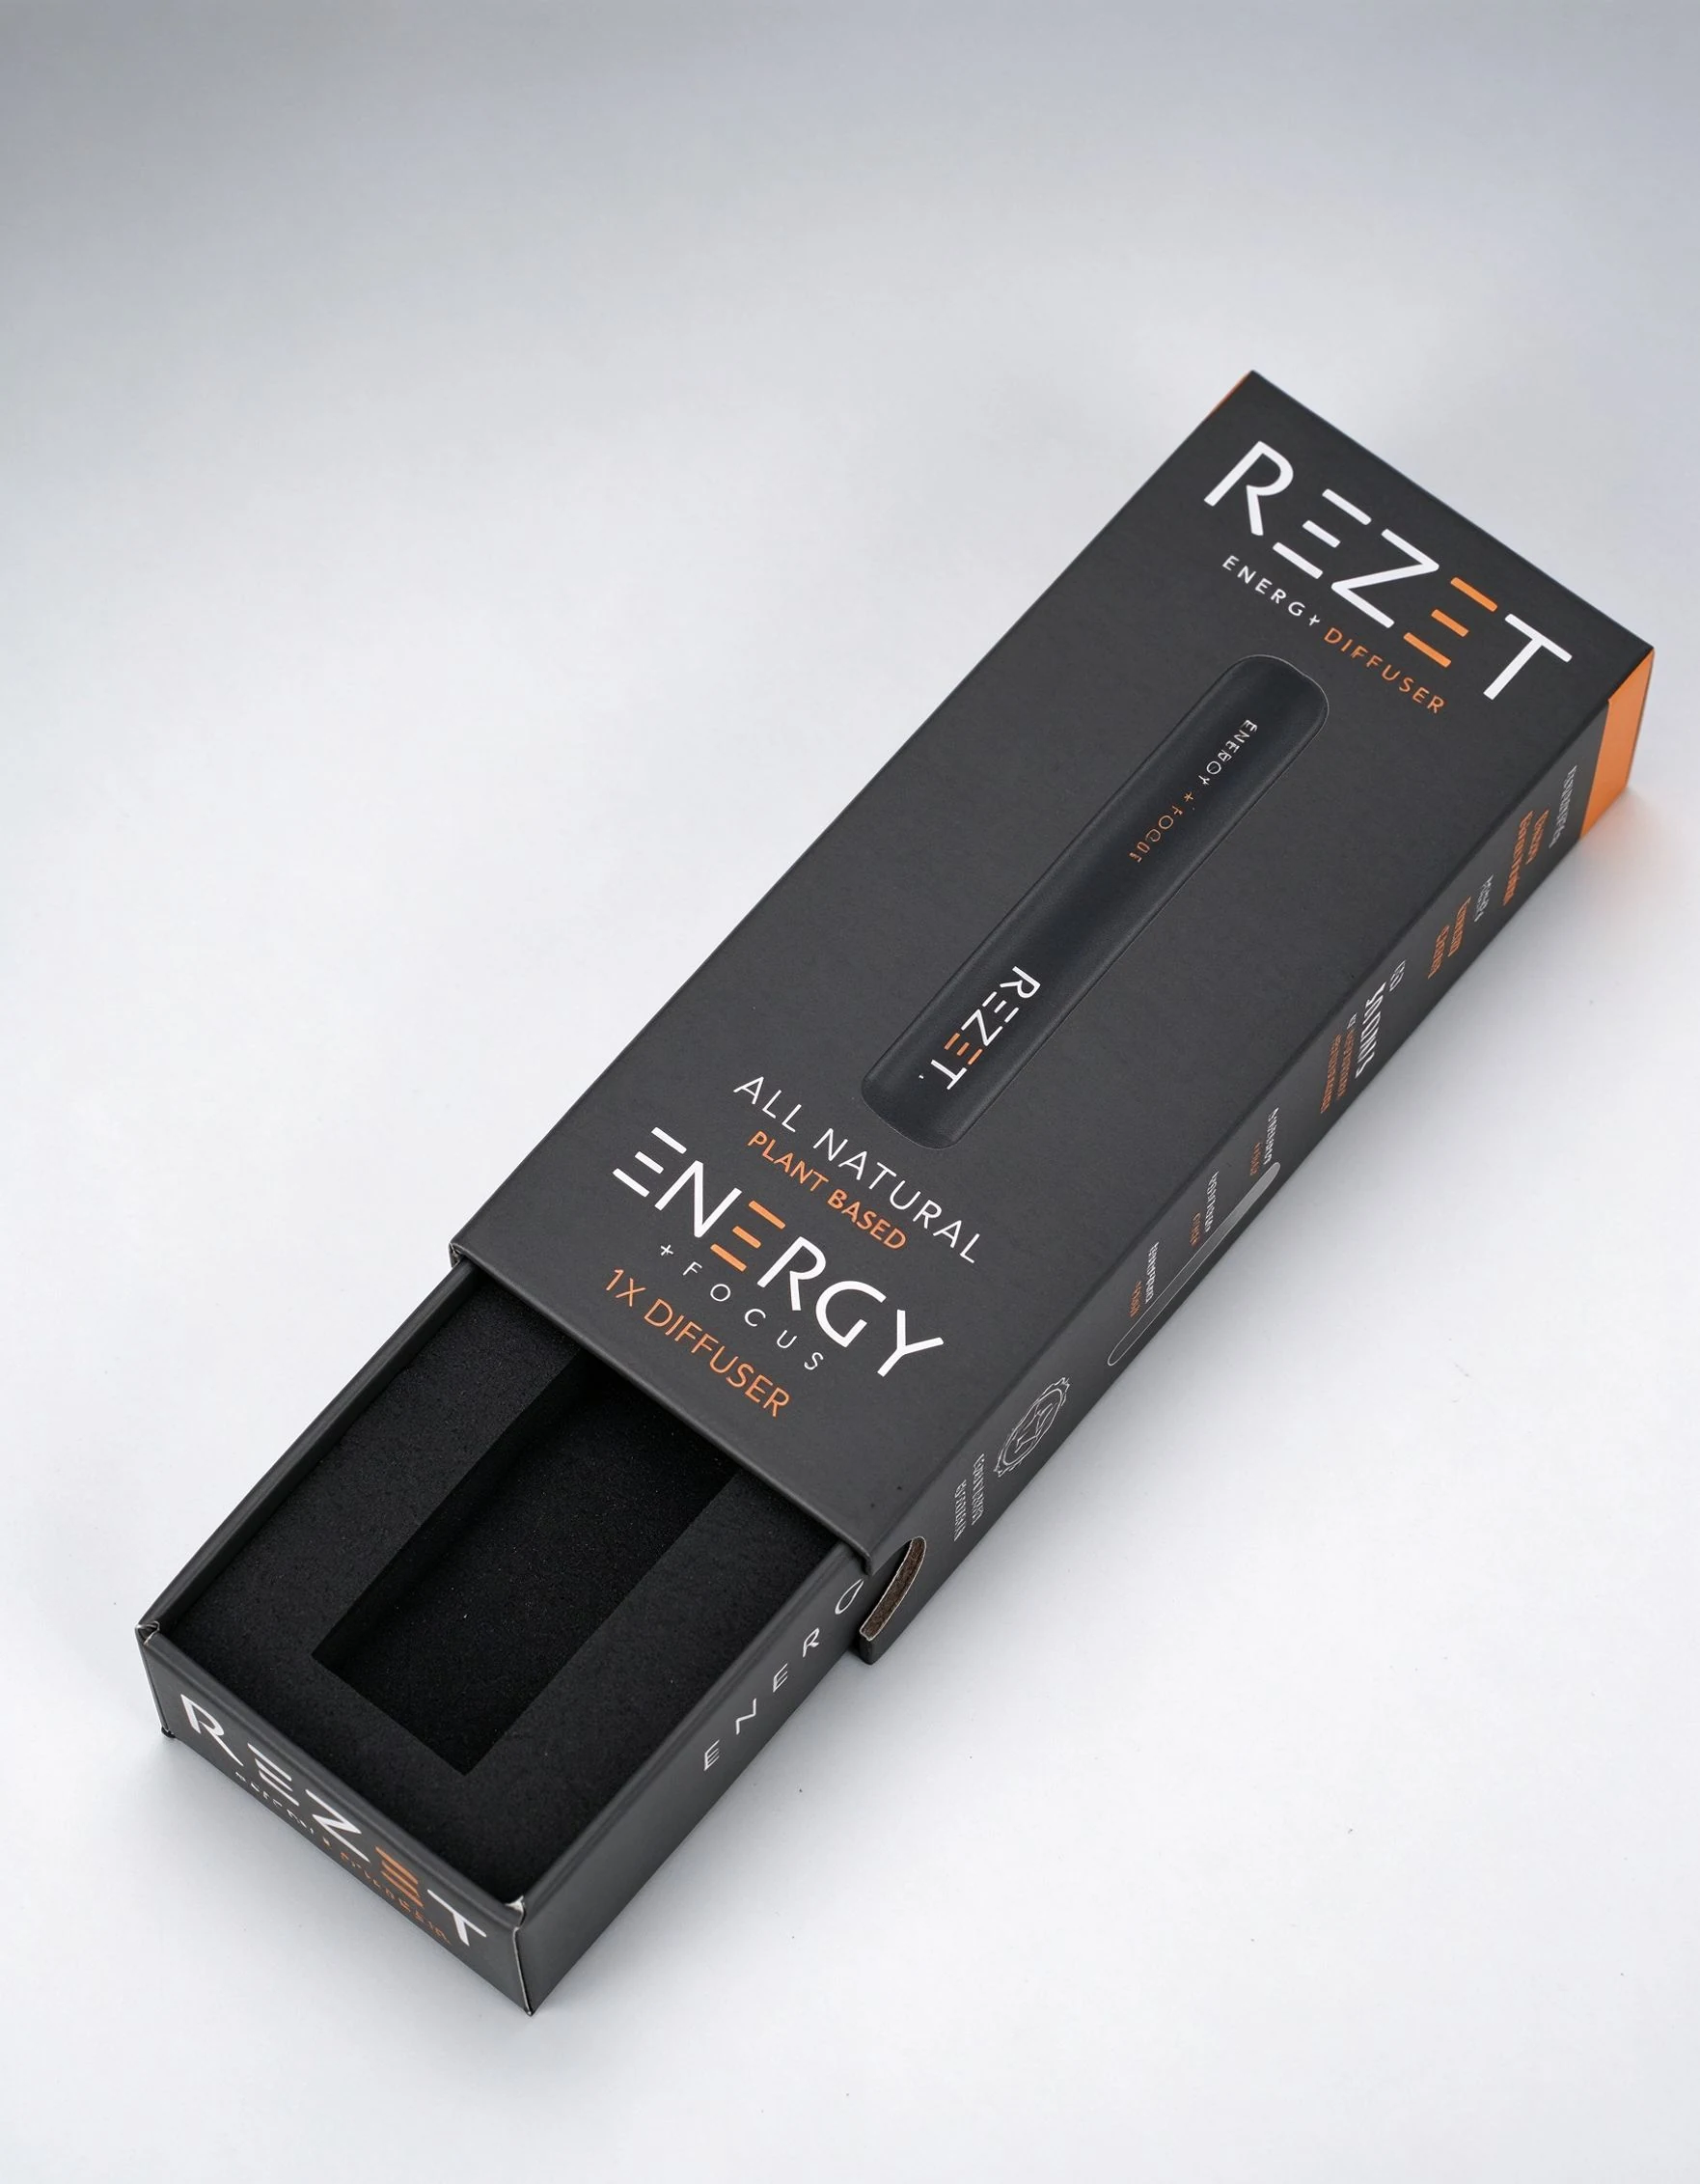
A custom EVA insert fit for a vape pen is a different layout task from paperboard dividers for a multi product gift set. Start with contact points, component dimensions and removal access, then compare samples made from the proposed materials.
Specify more than foam or paper.
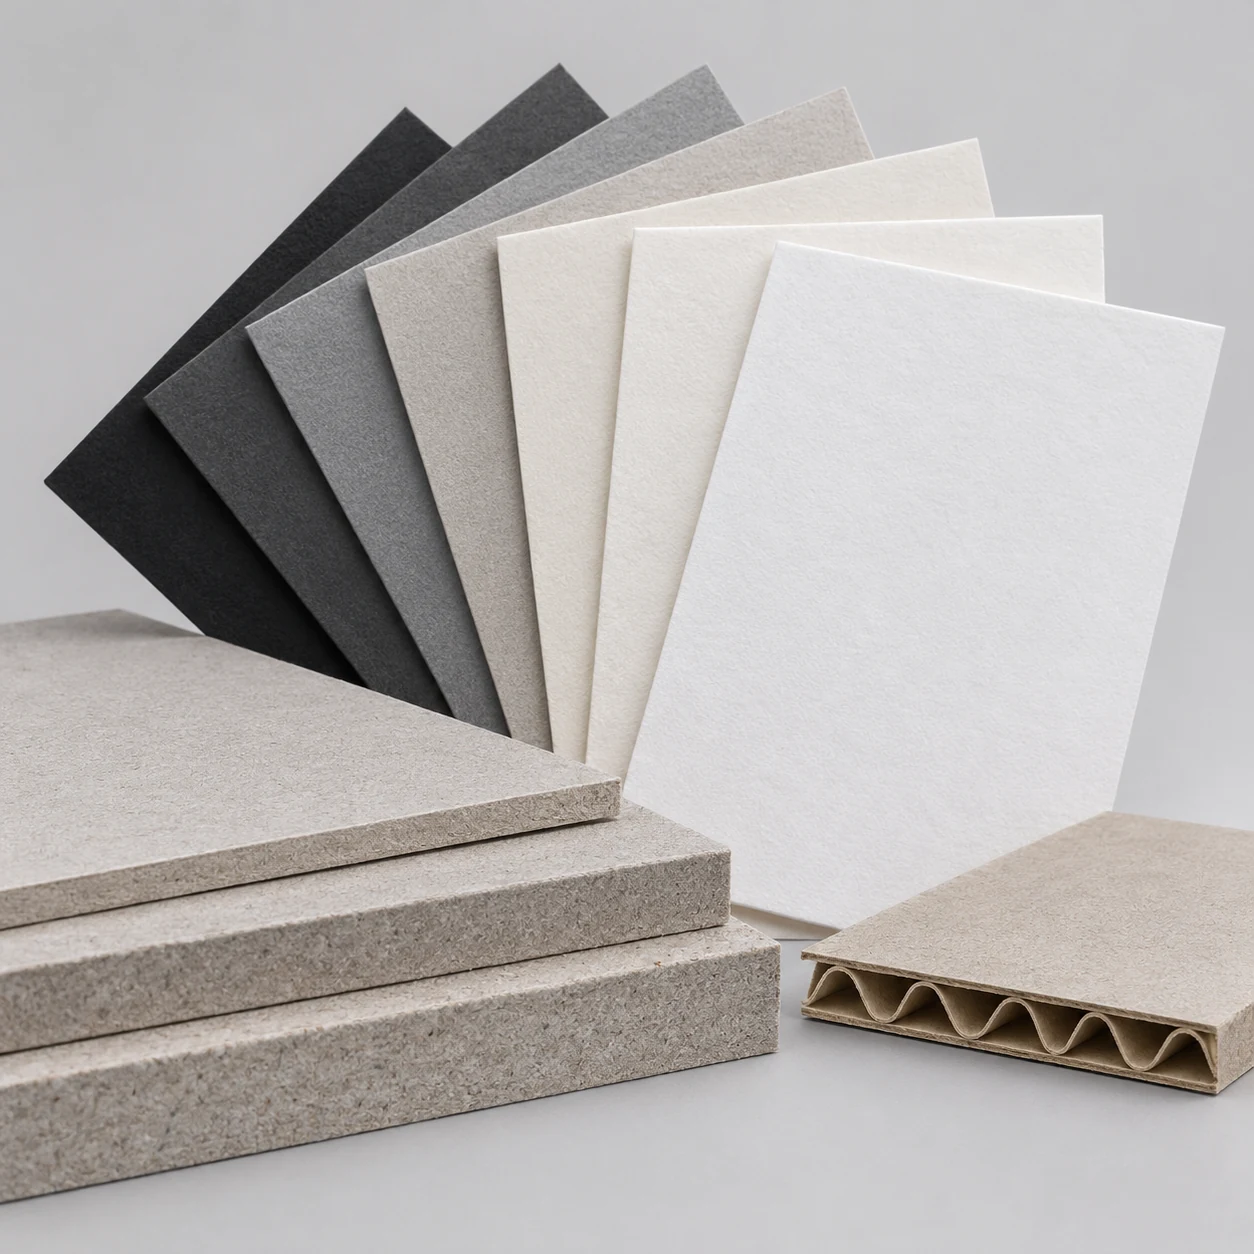
Foam inserts can use different materials, including EVA and PU. Paper-based inserts can use folded paperboard or corrugated constructions, with or without additional support. PackMojo's insert overview provides examples of these distinct options.
That vocabulary is useful, but it is not a performance ranking. Ask for the proposed material and construction, then identify what the sample needs to demonstrate. Bomidor's available grades and configurations are confirmed for the project.
| Review point | Foam option | Paper-based option |
|---|---|---|
| Product contact | Where does the cut shape touch or support the product? | Which folds, edges or panels touch and support the product? |
| Access | How is the product gripped without forcing the cavity? | Where are access openings and how does removal affect the structure? |
| Assembly | How is the insert fitted into the box and how are layers joined? | Which parts are folded, locked, backed or attached? |
| Appearance | Which edges and surfaces remain visible? | Which printed or unprinted surfaces remain visible? |
| Material separation | What is the exact material and how is it attached? | Are coatings, adhesives or mixed materials part of the design? |
References: PackMojo · insert materials and finishing definitions
Use the real product in the review.
Review the assembled box with the product and every accessory. Check that the insert sits as intended, the box closes without unexpected contact and the product can be removed in the expected way. Note any movement or rubbing for the design discussion.
If transport performance matters, agree a suitable evaluation for the complete pack. A neat fit in an empty display sample does not establish what happens during handling or transit. Similarly, a foam label does not guarantee cushioning for every product.
- Confirm the component and sample revisions match.
- Check loading and removal, not only the closed appearance.
- Document any surface marks, unwanted contact or unsupported areas.
Keep disposal claims specific.
Ask what each component is made from and how the pieces are attached. If material separation is a requirement, include that in the design brief and inspect whether it is practical in the sample.
Do not infer a recycling, biodegradability or certification claim solely from the appearance or category of the insert. Any statement used for the finished packaging needs evidence for that specification and the intended market.
Send a product list with the request.
Include dimensions with units, approximate weight, product photos and the preferred orientation for each item. State whether the box is already fixed or can change with the insert design. An existing box also needs its own confirmed dimensions and construction details.
Mark the requirement that is hardest to compromise: product access, arrangement, surface contact, packing time or a documented material requirement. That gives the discussion a useful starting point without pretending the material has already been chosen.
Put the guide to work.
Share your product and the decisions you want to explore next.
Discuss an Insert Design